Placeholder Applications

Read what creators are making

Table of Contents

Handmade / Customized Product Creation

After undergoing the thoughtful design process by creators, the real challenge for handmade products and custom creations lies in the journey towards mass production through outsourcing. Artists frequently find themselves in a loop of revisions and sample checks with manufacturers to nail the perfect execution. And when an artist’s custom order is on the smaller side, there’s the all-too-common hurdle of manufacturing costs blowing past the budget. Caught between the high costs of communication and production, creators might see their projects indefinitely postponed.

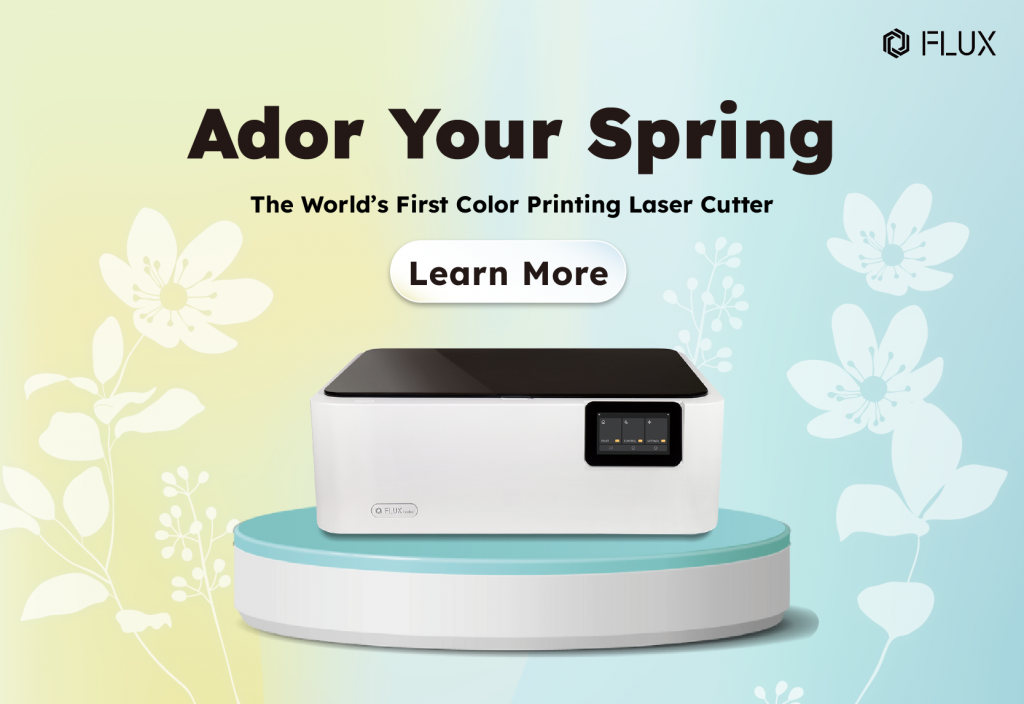
Recognizing the unique demands of handmade and custom products, which require efficiency, cost savings, and versatility, without being limited to just engraving and cutting materials, FLUX has deeply invested in the field of creator tools. We understand that vibrant color printing is as crucial as the craftsmanship itself for bringing these products to life. In an effort to meet creators’ needs for both prototyping and small batch production, we  have integrated color printing capabilities into our laser engraving machines, opening up new possibilities for creators.

At the end of 2023, FLUX introduced the Ador, a 3-in-one color printing laser cutter designed for engraving, cutting, and printing. This machine features a 20W diode laser module, perfectly suited for creators working with leather and canvas, capable of cutting up to 3mm in leather and up to 5mm in fabric. It’s especially handy for those looking to work with materials like leather and canvas. Additionally, Ador smoothly handles the engraving and cutting of common laser materials such as plywood, plant fiberboard, and black acrylic, with the ability to cut up to 8mm, ensuring an efficient creative process for creators focused on product design. Apart from the diode laser module, Ador is equipped with a 2W infrared laser add-on for metal engraving and a color printing add-on. This allows users to interchange module heads for a broader range of material applications, significantly broadening their creative horizons.

Laser Cut MDF Fridge Magnets

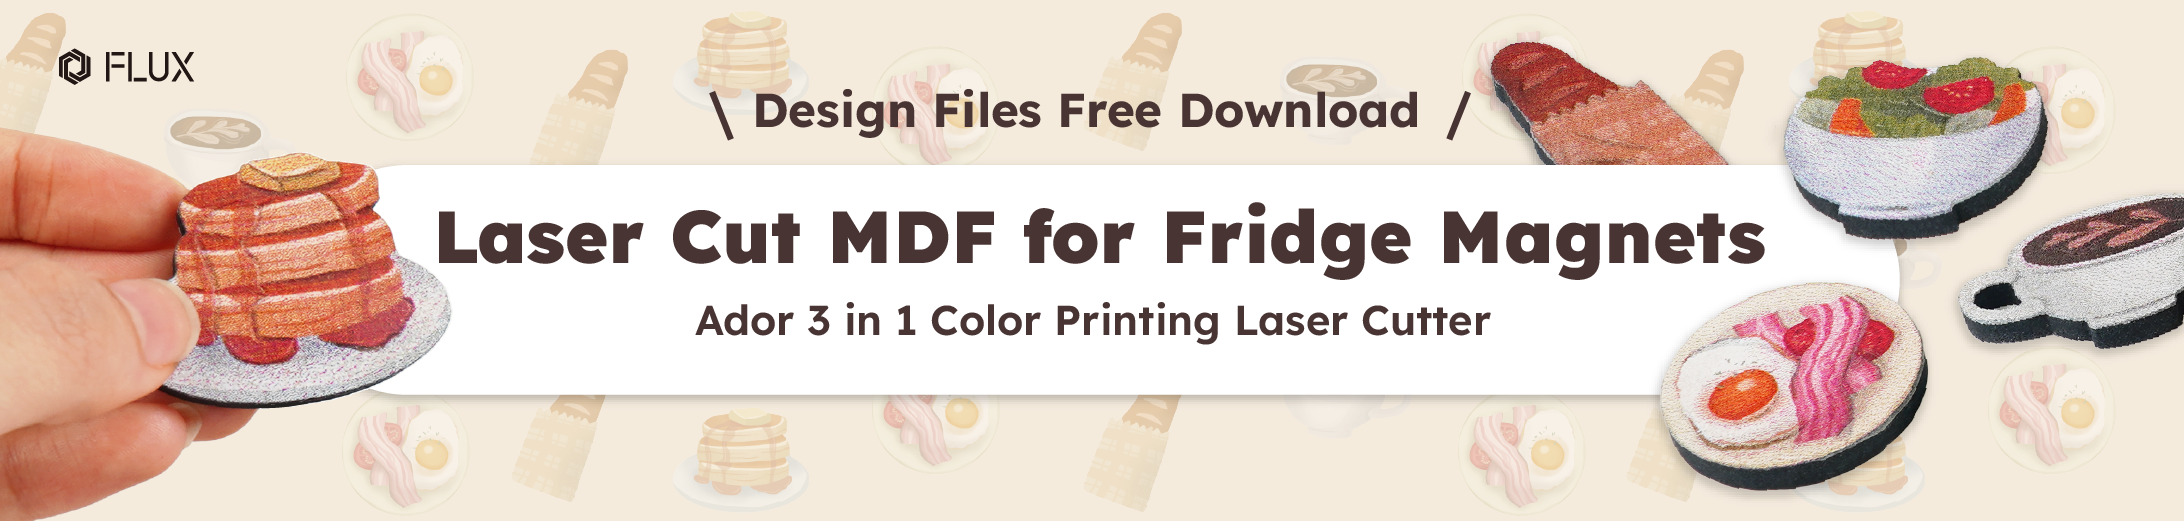
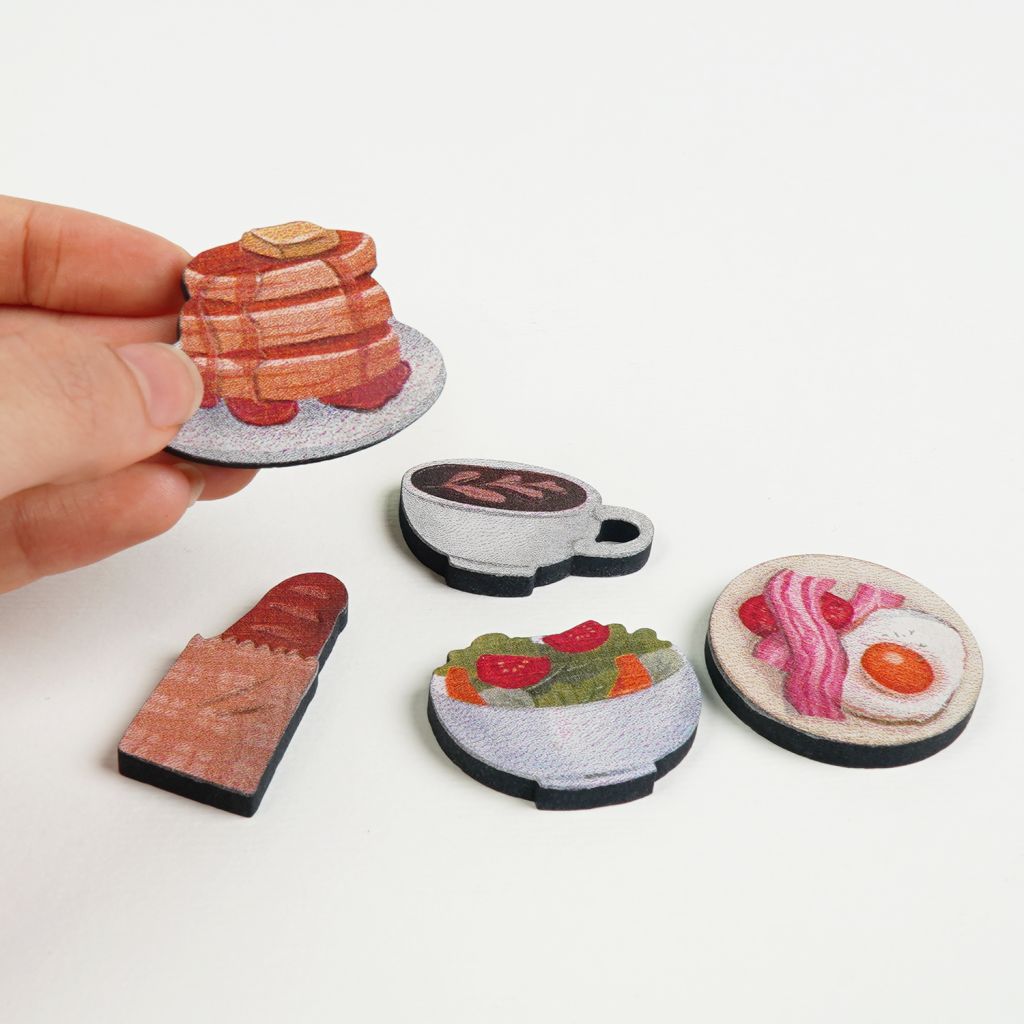
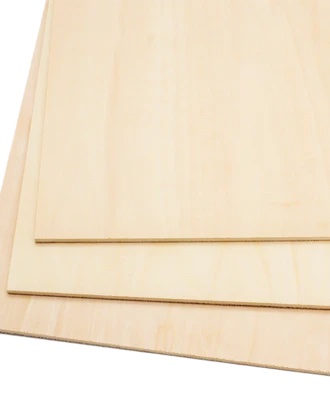
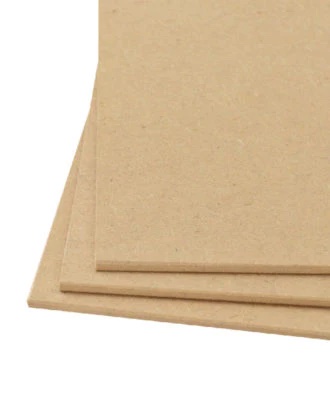
In this lesson sharing, we’ll walk you through how to create a custom MDF magnet using Ador, complete with engraving, cutting, and color printing—all in one shot. That’s right! Your own hand-drawn illustrations can be turned into unique products, allowing you to bring your creative visions to life on a variety of materials. But before we dive in, make sure to follow our guide for gathering and preparing your materials!

Preparing Image Files - A Tutorial on Setting the Frame

If you have your own illustration design, begin by adding a cutting frame to the image file before exporting it with the original artwork. Alternatively, when using Beam Studio software, you can vectorize the image file and navigate to “Edit” > “Path” > “Offset.” This step prompts the software to automatically generate a cutting frame for your design.

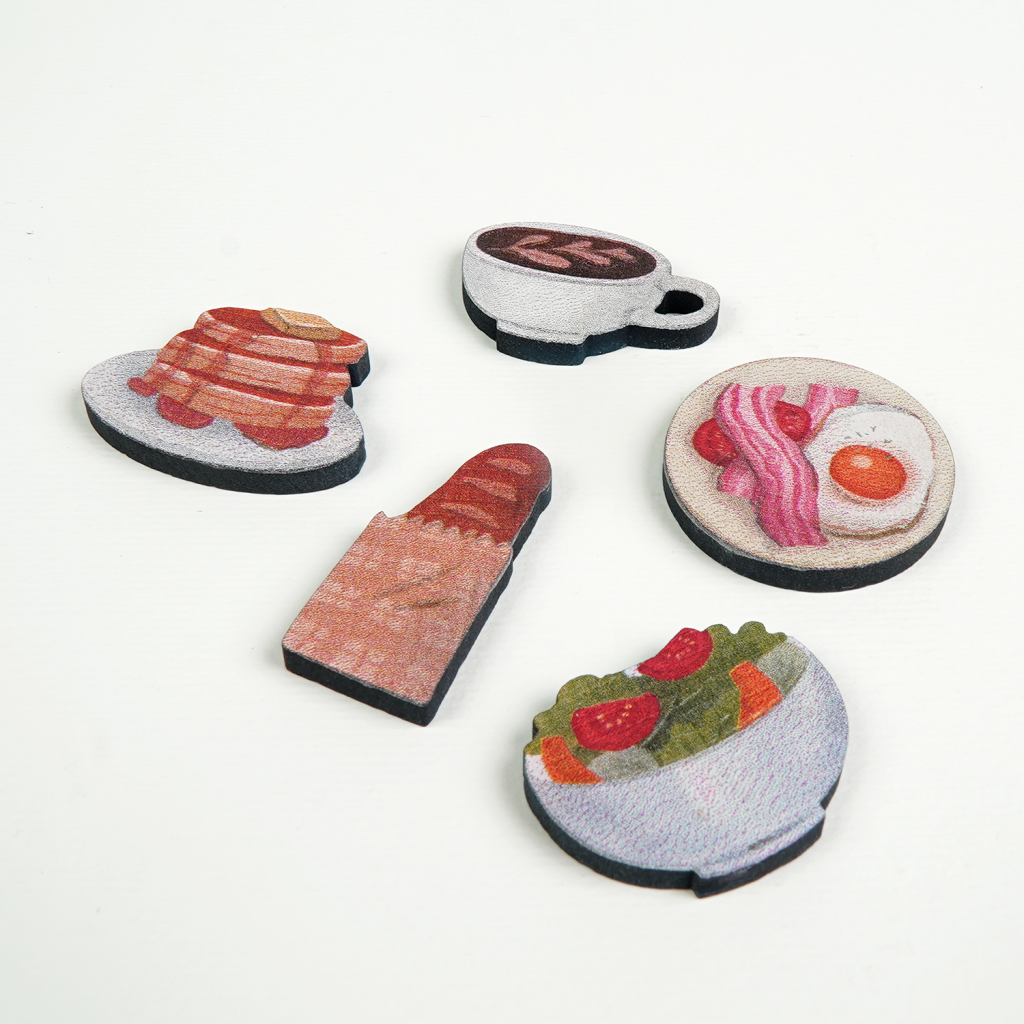
We’ve got a special treat for you—a set of intricately dessert illustrations design file available for everyone to download at no cost and use for your creative projects. This exclusive collection features five hand-drawn desserts and food shapes, ideal for creating fridge magnets, hanging decorations, and more with a laser cutter.

Looking to showcase your designs to a wider audience? Upload your creations to the Design Market, a digital marketplace for laser cutting files, and open your online design store. It’s a fantastic way to start a side gig and monetize your amazing artwork.

Preparing Materials

When it comes to wood materials, you’ve got a ton of options, each with its own unique color and texture. But for projects that involve engraving, cutting, and printing with Ador, you’ll want to stick with materials that won’t easily crack or warp. Our top picks? Birch plywood, Poplar plywood, or MDF (Medium Density Fiberboard). And if you’re aiming to add a bit of depth to your work, go for panels that are between 3mm and 5mm thick. Anything thinner might not capture the full vibrancy of your creation.
Poplar plywood is ideal for creators looking to achieve bright, vividly colored prints on their artwork. Its pale white color, coupled with a fine, uniform grain and subtle lines, offers a mild and easy-to-work-with material. This wood’s fine grain makes it a breeze to process, whether by hand or laser, and it stands up well to sanding, staining, and polishing for a smooth finish. It ensures even color in engravings and clean, non-charred edges in laser cuts, breaking cleanly for precise work.
MDF Board is a type of New Zealand Dense Plate, is highly recommended for creators aiming for bright and colorful prints on their projects. This material has a light color, stability, and ease of cutting. It surpasses the quality of Asian Dense Plates with fewer surface imperfections. Compliant with green VOC standards, it’s an excellent choice for a wide range of applications including crafts, furniture, decor, building materials, and laser cutting projects.
Walnut Plywood stands out with its yellowish-brown hue and special patterns, such as parabolic shapes on the cut surface and straight grains radially. It’s known for its fine texture, high hardness, and excellent resistance to impact, compression, and moisture, making it less prone to warping. This durability is perfect for furniture making. While walnut plywood adds a vintage look to projects, its rich color might overshadow bright design colors. For the best compatibility with FLUX design files, opting for lighter-colored wood is recommended. Ensure you choose the right board for your project!
Birch plywood, known for its light color, is ideal for projects that involve color inkjet printing. Basswood, featuring a creamy white hue, is characterized by its fine, even grain and subtle straight lines. This wood is mild, resistant to cracking and warping, and its fine grain makes it easy to handle, durable, and capable of achieving a smooth finish through sanding, staining, and polishing. It’s suitable for both hand crafting and laser processing, ensuring the edges of laser cuts don’t easily blacken or break.
To give your magnets that extra 3D pop, stick to this order: first engrave, then print, and cut last. As for switching things up with the modules, it’s diode module, then printing module, and back to diode module. FLUX provides .svg files for your engraving and cutting needs, plus .png files for printing. Make sure to download both to your computer and you’re all set.

Part 1 Camera Calibration

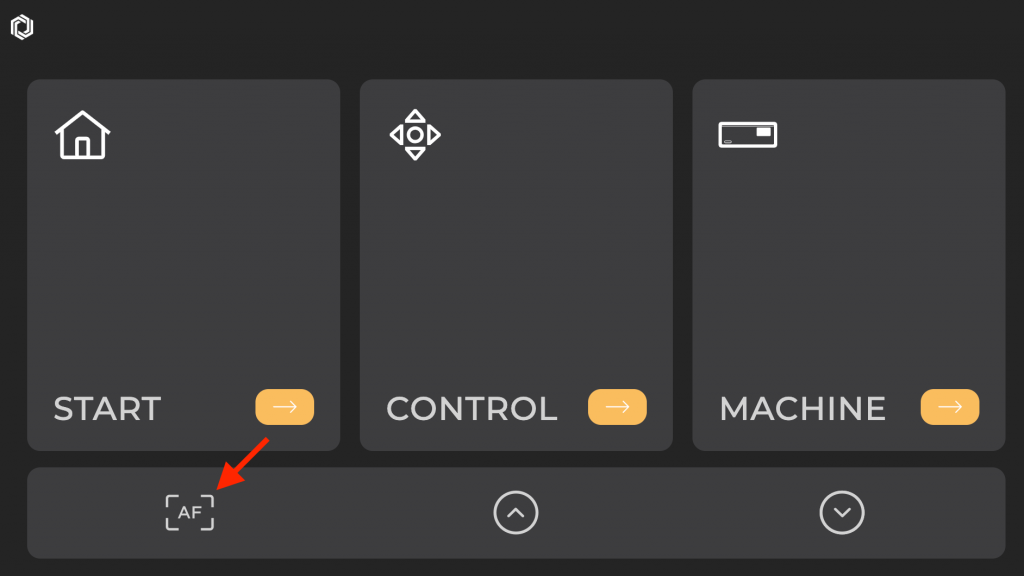
If it’s your first time firing up Ador, or if you’ve moved the machine since your last project, be sure to run a camera calibration. This step is crucial to dodge any mishaps while laser cutting and engraving. Check out the FLUX Help Center for a step-by-step on calibration. And don’t just breeze through it—make sure to double-check the calibration results once you’re done. After nailing the camera calibration, you’re good to go on that first engraving. For a clear guide on confirming your calibration, dive into the tutorial video and remember to turn on those CC subtitles for extra clarity.

Part 2 Laser Engraving

After calibrating the camera, you’re ready to dive into making your magnet. The .svg files from FLUX are already organized with separate layers for cutting and engraving, so remember to hide the cutting layer while engraving! Also, before you start tweaking the settings, make sure to complete an “Auto Focus” to adjust the distance between the laser head and the material correctly before each engraving and cutting step.
Auto Focus: Place the material inside the machine, move the laser head above the material, then double-click the focus button on the left side of the machine or press and hold the “AF” button on the machine’s panel until the laser head activates. Once the laser head touches the material and then moves back up, focusing is complete. Before each engraving, always make sure the focus distance is correct.
Camera Preview: Start with a camera preview to confirm the placement of your material and the engraving position of your design file. The camera lens for the preview is located on the lid, so remember to close the lid during the preview. Otherwise, you might end up with a selfie!
Parameter Setting: Once you’ve wrapped up the camera preview and have your design file’s placement nailed down, it’s time to dive into setting your parameters. Beam Studio offers suggested settings, but feel free to tweak these based on the color or texture of your material. This flexibility allows you to tailor the engraving or cutting depth to achieve the best possible outcome for your project. If you’re also using the MDF board for your magnet, the recommended engraving parameters are: Power: 40 / Speed: 250. For a detailed walkthrough on laser engraving settings, check out the tutorial video below.

Part 3 Color Printing

Once you’ve finished engraving, it’s time for the highlight of this project – color printing! Before you dive into the setup, remember to swap out the diode module for the printing module head. If it’s your first time venturing into a project with the printing module, you’ll need to calibrate the camera before getting started. For a step-by-step guide, head over to the help center’s tutorial.
Start by importing your files for camera preview. Align it with the engraved area and adjust the ink saturation to kick off your color printing. Creators can tweak the ink volume based on the color tones of the image and personal preference. If your material is on the lighter side, consider reducing the saturation to prevent the colors from becoming too vivid and distorting the final product. Once the file is sent, follow the prompts on the Ador smart panel to change ink colors, completing the printing process.
Parameter Setting
Printing Proccess

Part 4 Laser Cutting

Once the color printing is done, it’s time for the last step: cutting out your engraved and printed masterpiece from the material with the diode laser . First, swap out the printing module for the diode module and refocus the material. Next, reveal the cutting layer that was hidden during engraving, and align the cutting paths with your design. Ensure the engraving and printing layers are hidden to avoid any overlap issues. With the wood preset cutting parameters from Beam Studio , you’re ready to send off the file for cutting.

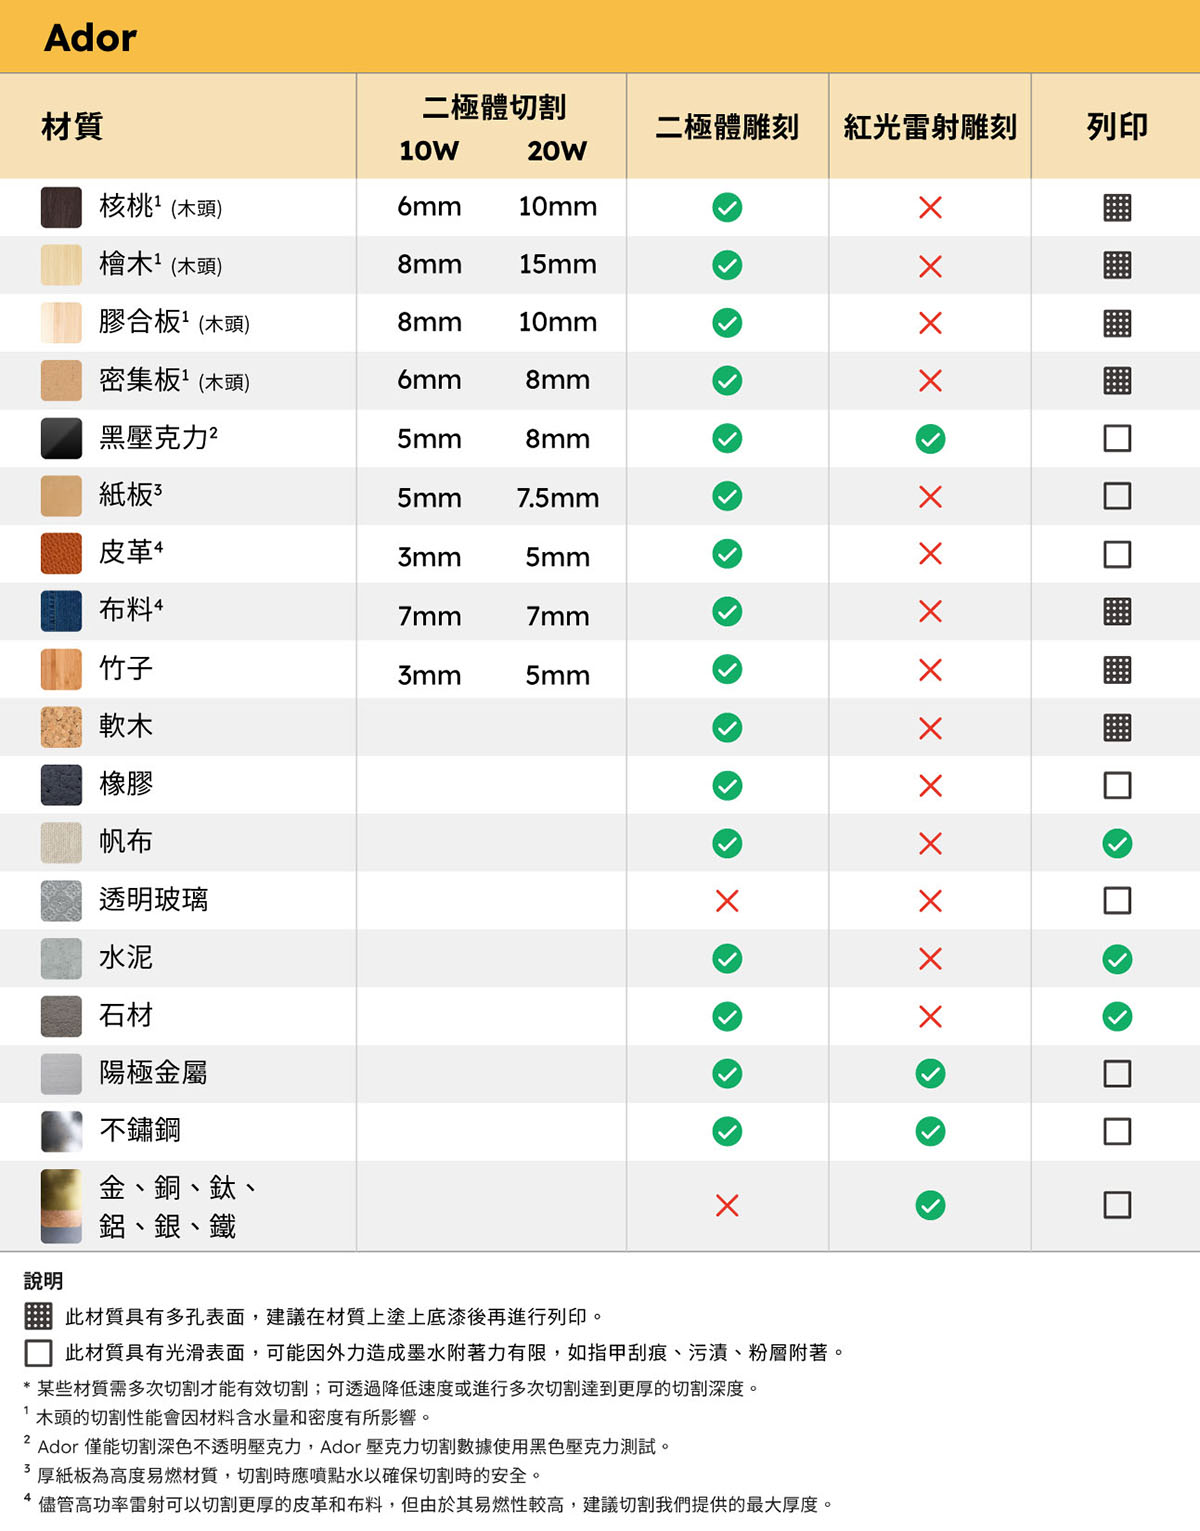
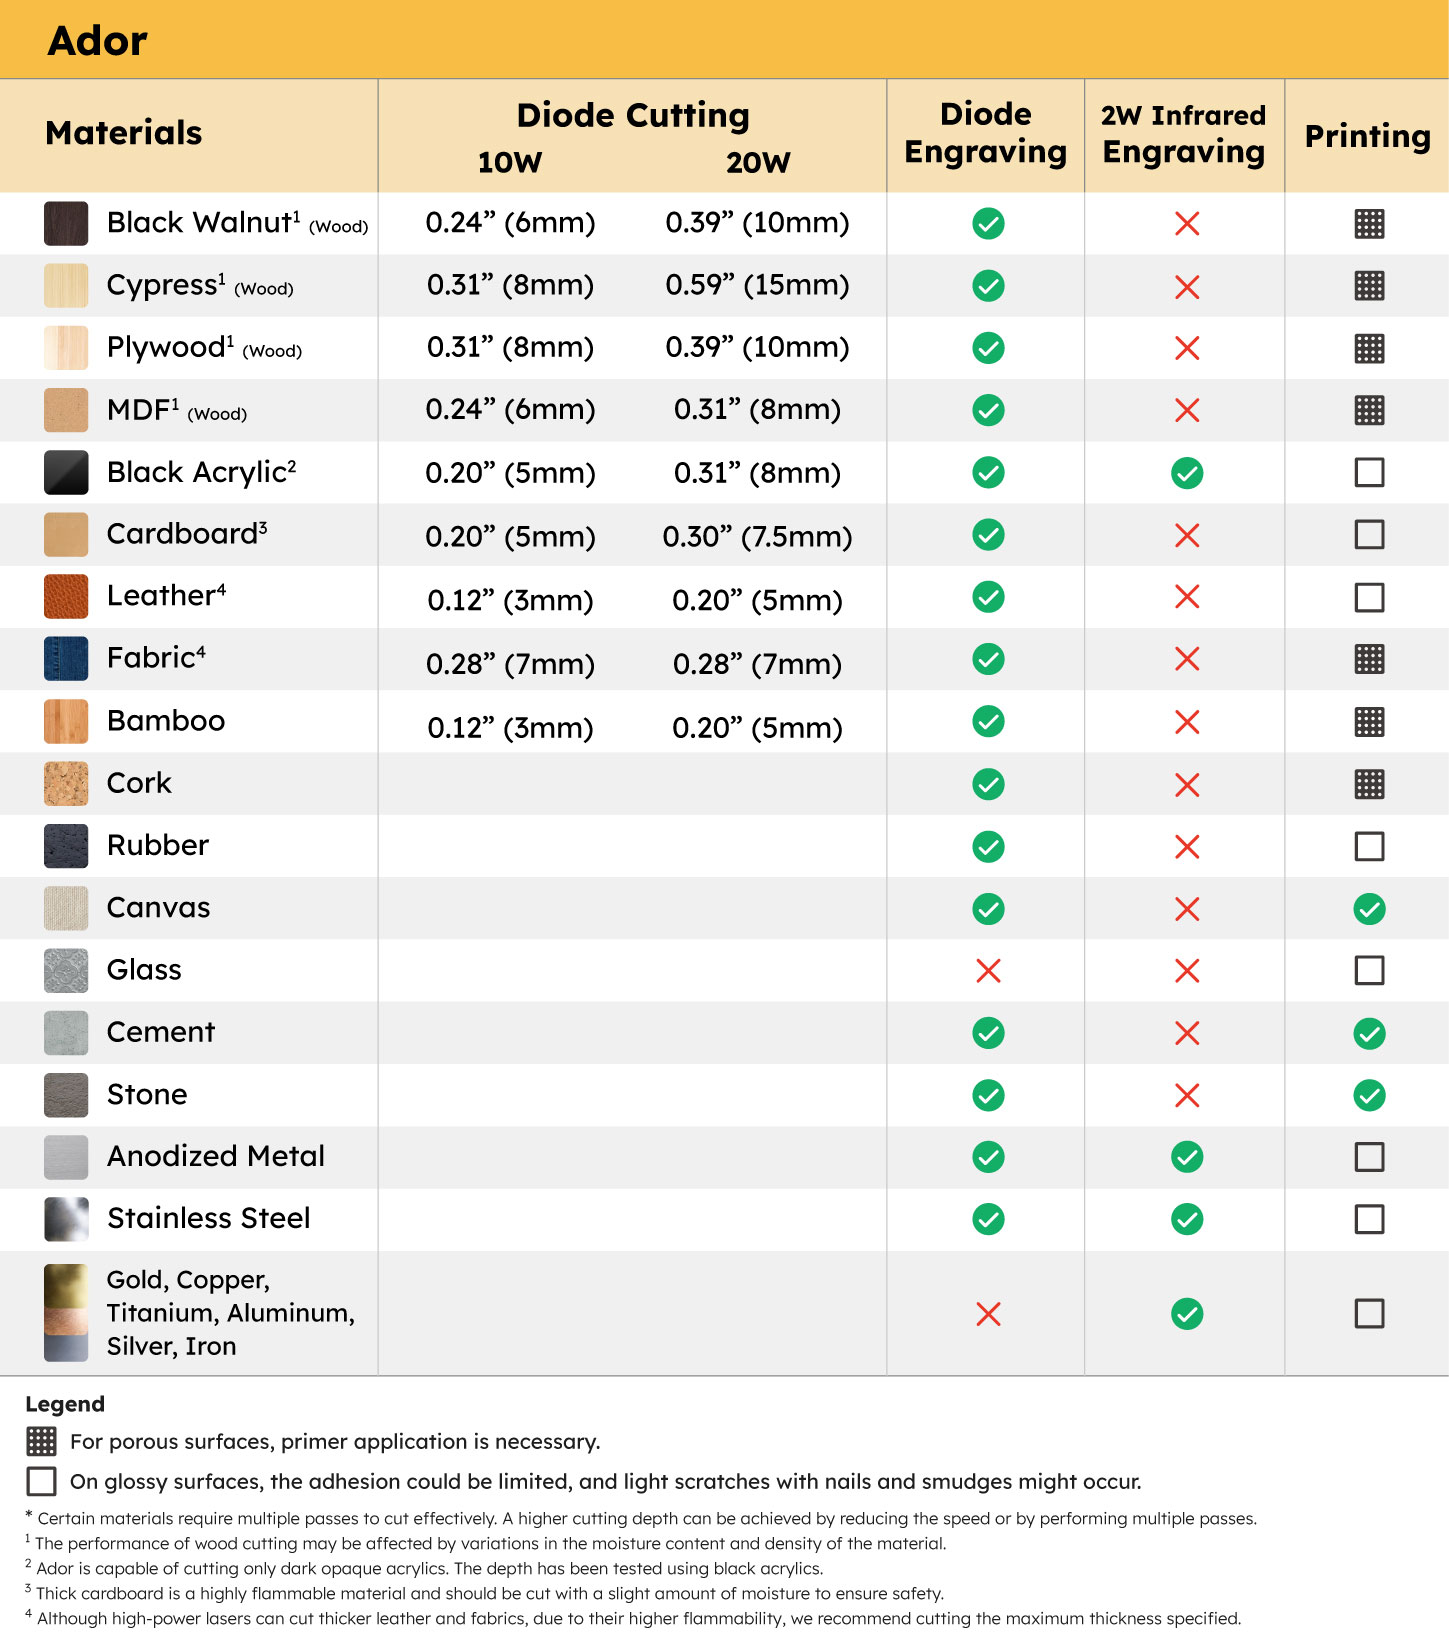
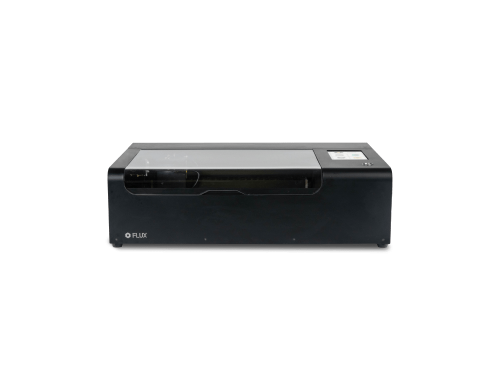
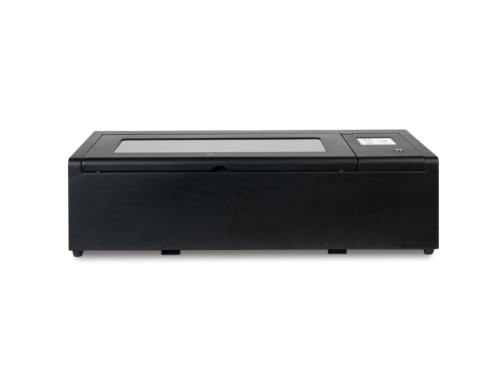
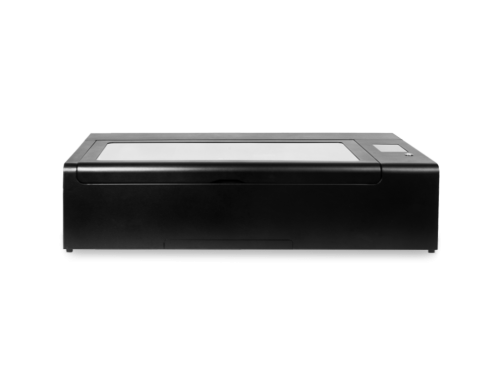
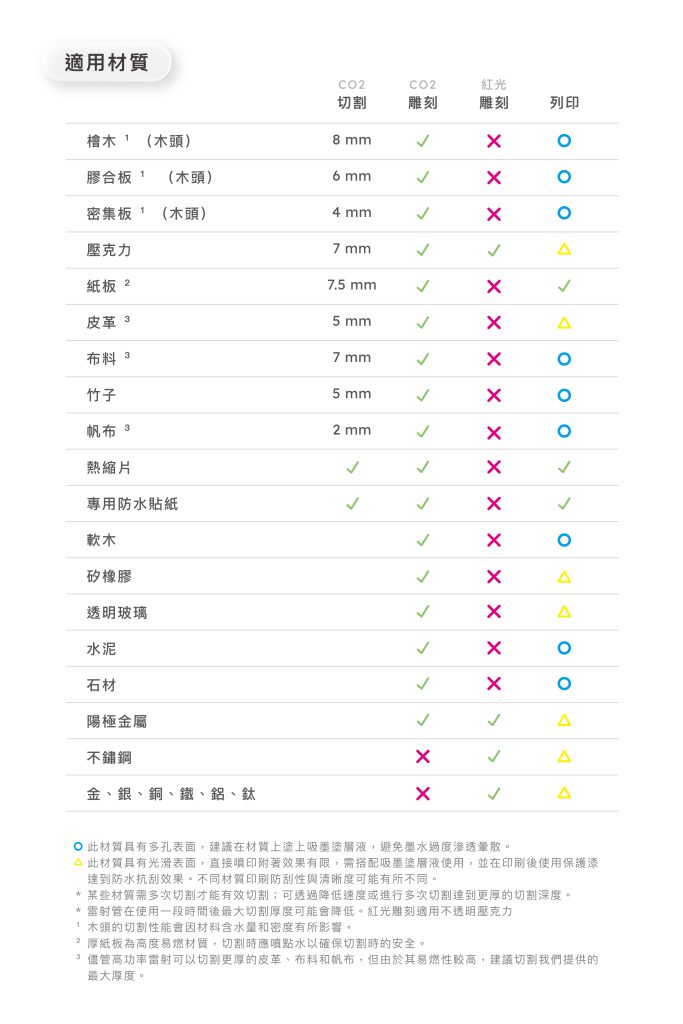
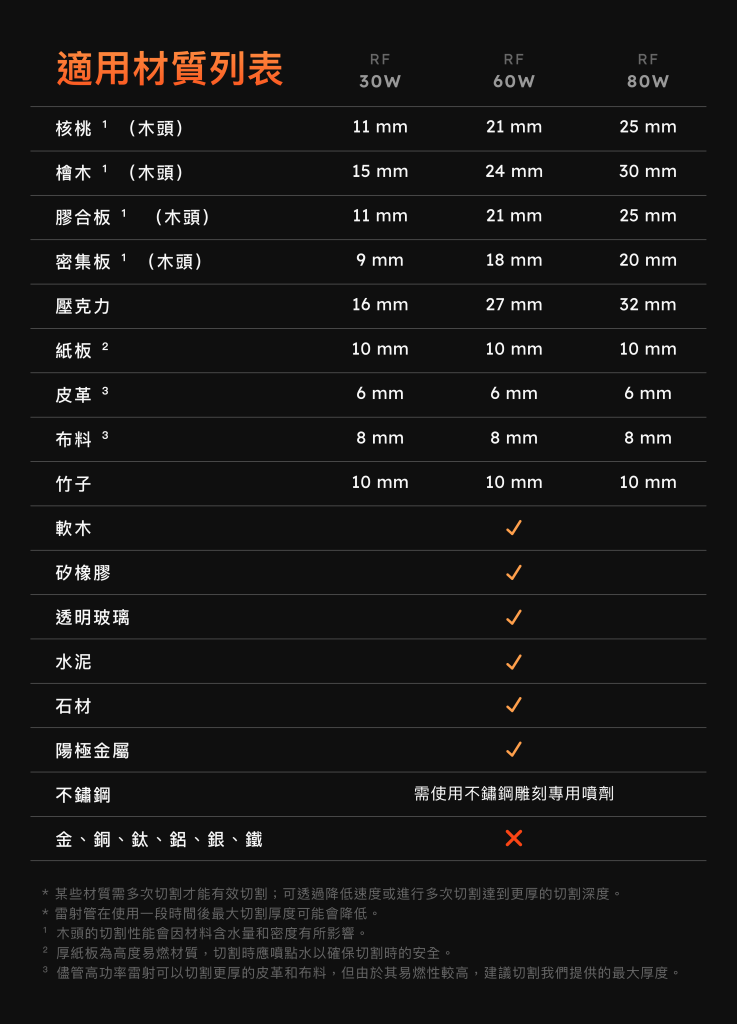
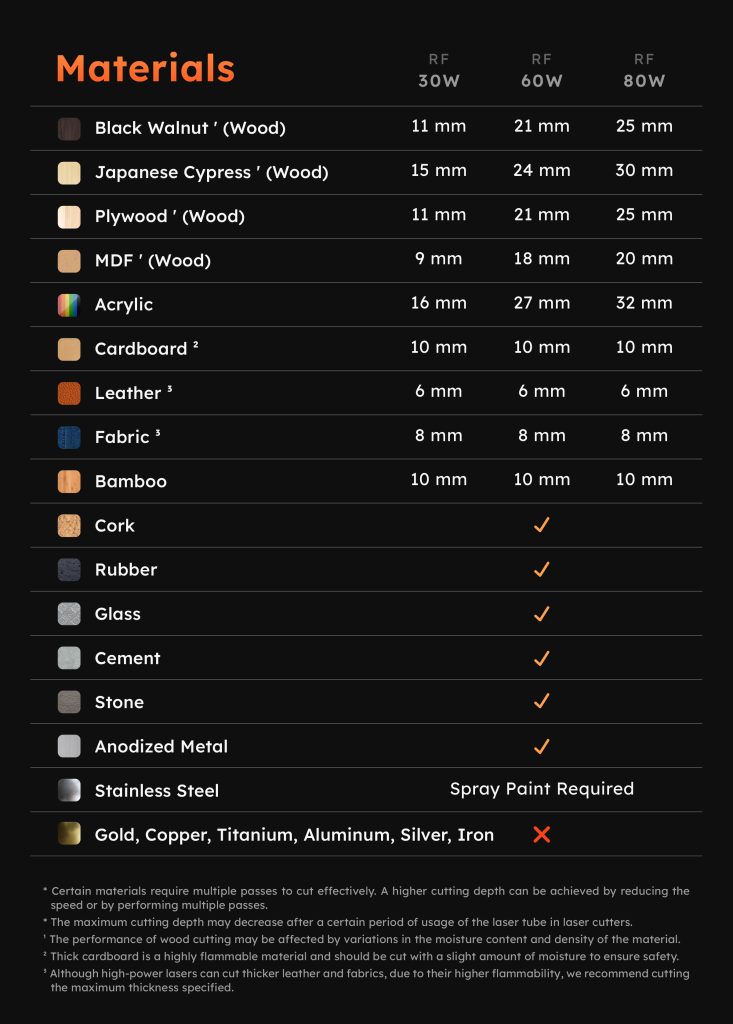
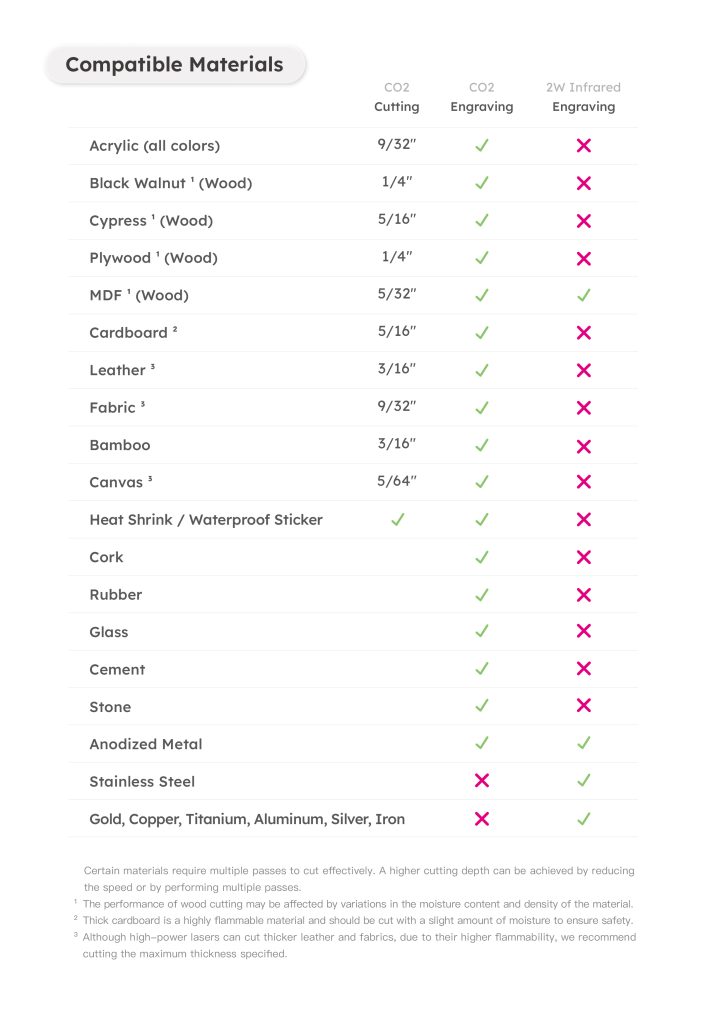
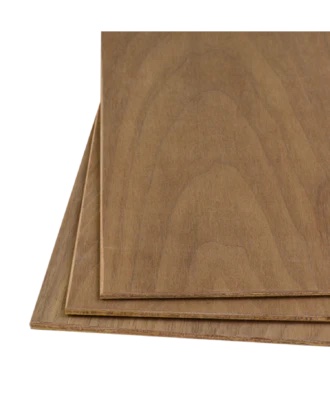
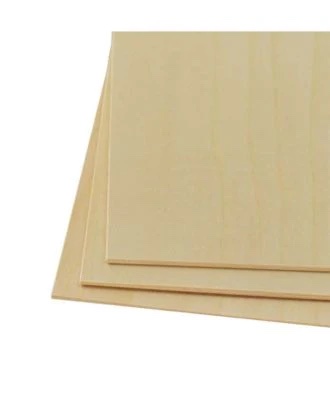
Impressed by Ador’s capabilities? Beyond wood, Ador can engrave, cut, and print on a variety of materials, pushing the boundaries of laser crafting! If you’re intrigued by what Ador has to offer, head over to the FLUX official website now to discover more about this machine’s capabilities.

Ador

The World’s First Color
Printing Laser Cutter

laser cutter beamo product

beamo

The World’s Smallest
CO2 Laser Cutter/Engraver

laser cutter beambox product

Beambox

The Smart Desktop
Laser Cutter & Engraver

HEXA

Beyond
Your Profession

Metal in Action
That Takes beamo II to limits.

With the 2W Infrared Laser Add-on, beamo II can engrave not only acrylic, wood, glass, and leather, but also gold, silver, copper, iron, aluminum, and more.

Pet Tag

Custom Tag

Metal Tableware

Custom Keychain

Unlock All Metal in beamo II

Whether it’s custom metal jewelry, one-of-a-kind medals, or personalized tags and tools, the 2W Infrared Laser Add-on engraves smoothly on any metal like object.

Laser in Color,
That Makes beamo II More Fun.

beamo II brings full-color printing to your laser projects without removing the laser module. CMYK colors are applied in a single pass, delivering vibrant hues and fine, intricate details. From subtle gradients to bold patterns, every creation comes to life with stunning clarity.

Custom Stickers

Laptop Models

Custom Decorations

Custom Standees

Go Full Color

beamo II delivers full-color laser projects in a single pass without removing the laser module. CMYK colors appear together with vibrant hues and intricate details. Every gradient, every pattern, every design comes to life seamlessly, from your first idea to the finished creation.

Expand More with CO2 Laser

beamo II is the first CO2 laser cutter with full-color printing, applying CMYK in a single pass. Colors are pure, layers are clear, and details are crisp. From subtle gradients to bold patterns, every design comes to life with vivid precision.

600 DPI. Color That Impresses.

beamo II prints with up to 600 DPI precision. Colors are rich, gradients smooth, lines sharp, shadows layered. Every detail is captured exactly as you imagined. From professional portfolios to one-of-a-kind gifts, every creation shines with stunning clarity.

30W CO2 Laser,
That Does it All.

beamo II comes with a 30W CO2 laser, precise, powerful, and ready to bring your ideas to life. From wood, leather, cardboard, and fabric, to transparent or vibrant acrylic, it cuts cleanly and engraves delicately. No limits. No delays. With Beamo II, every idea becomes reality.

Birthday Stand

Custom Pet Bowl

Puzzle Game

Custom Tumbler

Engrave & Cut Effortlessly

From delicate crafts to unique gifts, from classroom experiments to professional designs, beamo II handles every project with ease. Every cut and engraving transforms inspiration into reality.

Look Closer, See the Detail.

Even the finest textures and most intricate designs come through with stunning clarity. With up to 1000 DPI precision, beamo II brings delicate charms, one-of-a-kind gifts, and demanding professional projects to life—flawless, even under close inspection.

Add a Pop of Color!

beamo II is the world’s first CO2 laser cutter with CMYK printing. With CMYK printing in a single pass, colors are pure, layered, and more vibrant than ever. From subtle gradients and bold patterns to intricate design details, beamo II brings every creation to life

There’s More Room for Your Ideas.

Want to tackle thicker materials or explore more advanced creations?
 With beamo II’s Extension Base Add-on, the engraving height increases from 1.2 inch to 6.1 inch, making it easy to work with thick objects. Pair it with the Automatic Feeder and Chuck Rotary, and you unlock even more creative possibilities.

No More Limits on Length.

Handle materials longer than the machine itself with ease using the Auto Feeder Add-on. From long wooden boards and extended acrylic sheets to other elongated designs, everything can be engraved, cut, and printed smoothly. Length is no longer a limitation.
*Requires the Extension Base Add-on.

Circle Back to Your Creativity

With beamo II’s Chuck Rotary Add-on, you can extend your ideas to a variety of objects. From glass cups and wine bottles to baseballs, everything can become a one-of-a-kind creation.

*Requires the Extension Base Add-on.

Keep Your Space Clean

Creativity needs room to breathe, and so do you. With Beam Air, smoke and odors from laser engraving are efficiently captured, keeping your workspace fresh and clean. Whether at home, in a studio, or a shop, Beam Air protects your environment so you can focus on every creation with confidence.

一次看懂兩代的不同