Ador
Printing Module

Table of Contents

Laser cutters have become invaluable tools for small businesses and studios seeking to personalize products. They expand the range of possibilities, allowing products to stand out as unique and more appealing to customers. Various personalization techniques are achievable with a laser cutter, including custom logo engraving and model assembly. By selecting the appropriate personalization method, you can ensure the creation of durable and long-lasting custom artwork. While these techniques are prominent, they represent just a fraction of what’s possible.

A Laser with Printing Module

This is where Ador steps in, offering a new dimension of personalized creativity. Ador is equipped with three interchangeable, high-quality modules: a diode laser, an infrared laser, and a printing module. This versatility empowers creators to not only cut and engrave a wide range of materials but also to add vibrant colors to their projects, elevating the level of craftsmanship and innovation. As creatrs are already well-acquainted with laser cutting and engraving techniques, our focus will shift to Ador’s Printing Module, which has garnered significant interest. Join us as we explore the functionality of this printing module, demonstrating its capabilities and the impressive results it achieves on various materials.

Printing Module Add-on

What type of ink is used for the Ador printing module?

Ador employs Eco Solvent Ink, featuring CMYK in four colors. This ink is versatile, and suitable for printing on a wide array of materials such as wood, bamboo, cardboard, fabric, and canvas, among others. Applying a primer is essential for porous surfaces to ensure proper ink adhesion. 

Beam Studio

The designated software for Ador is our reliable pale Beam Studio, which has been updated to accommodate the new printing function of Ador. Beam Studio now offers enhanced capabilities, allowing users to tweak both parameter and ink settings for the Printing module. It enables precise adjustment of ink output tailored to specific design files and also allows for direct modification of gradients and sharpness within Beam Studio, aligning with your individual preferences.

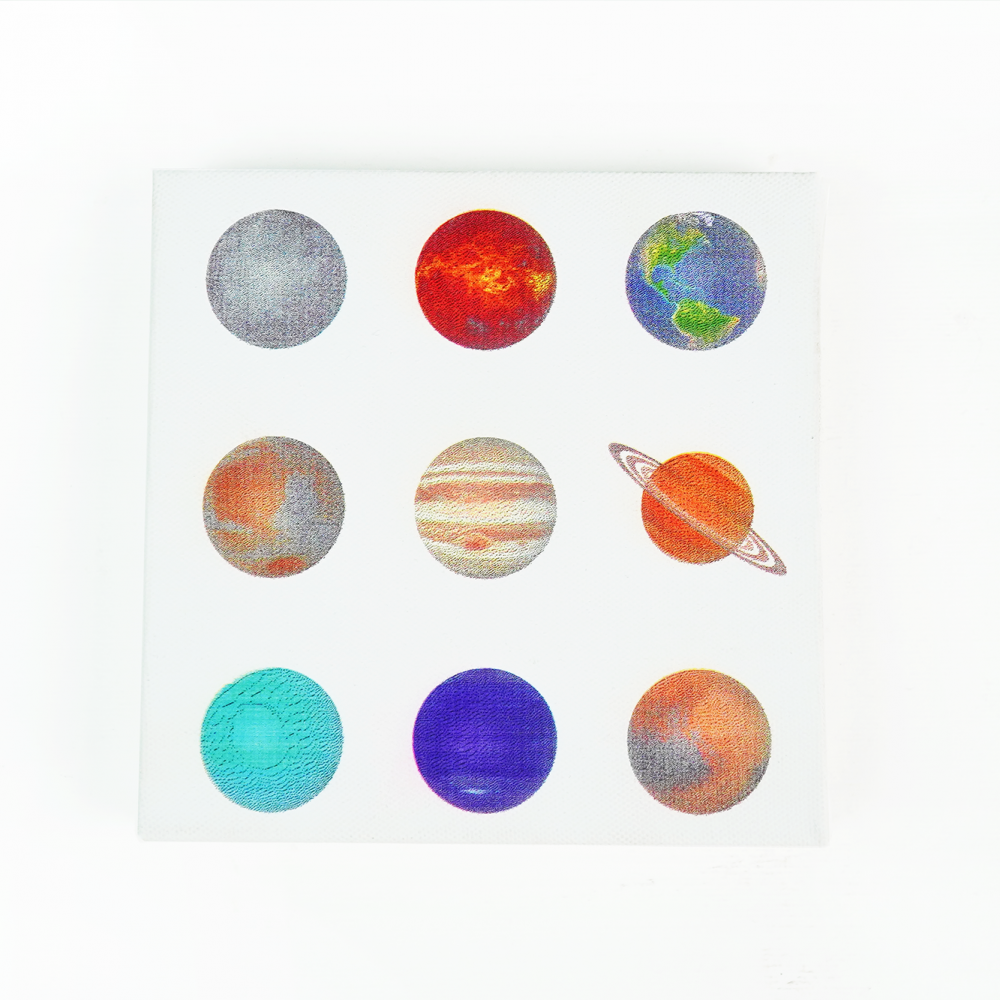
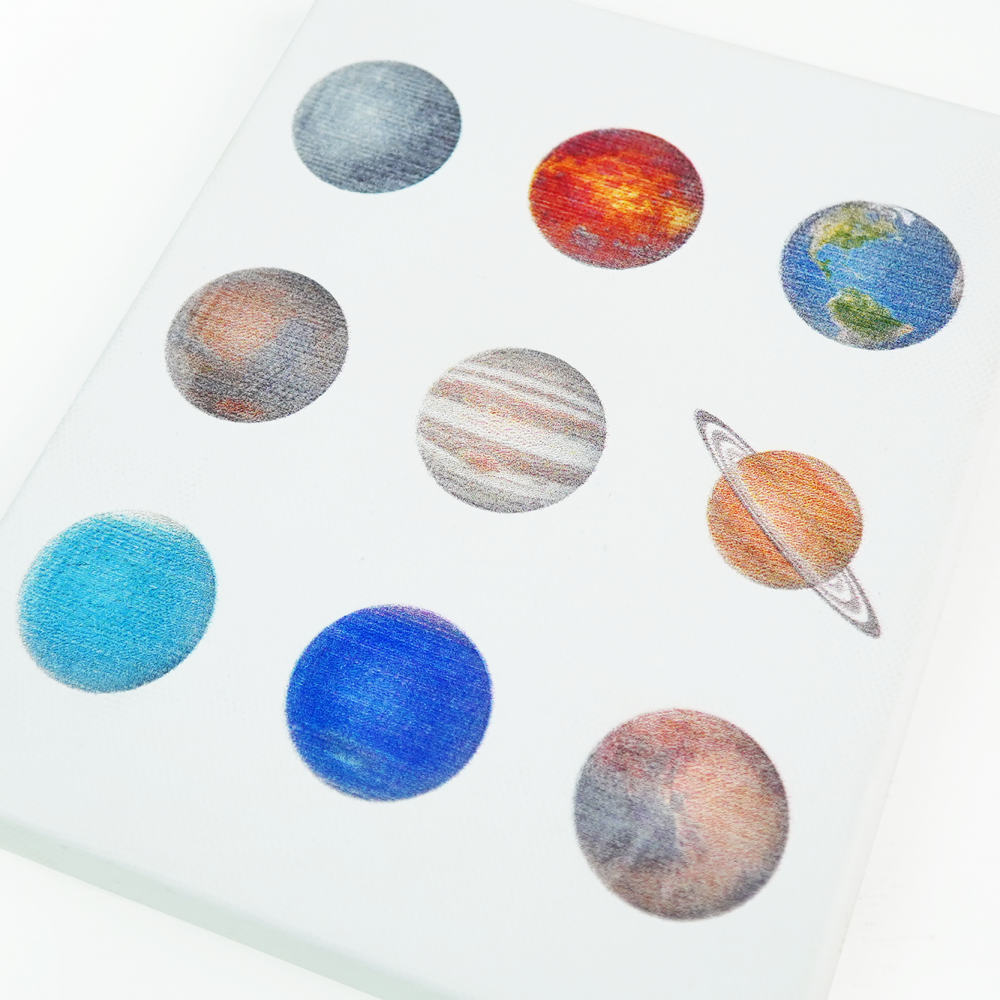
Color Channel Adjustment

Gradient & Sharpness

Canvas Printing

To illustrate the functioning of the printing module, we’ll take canvas as a practical example. This will guide you through the process and help you understand how the printing module operates. Follow these steps to gain a clearer insight into its workings.

Step 1 - Place Material & Auto Focus

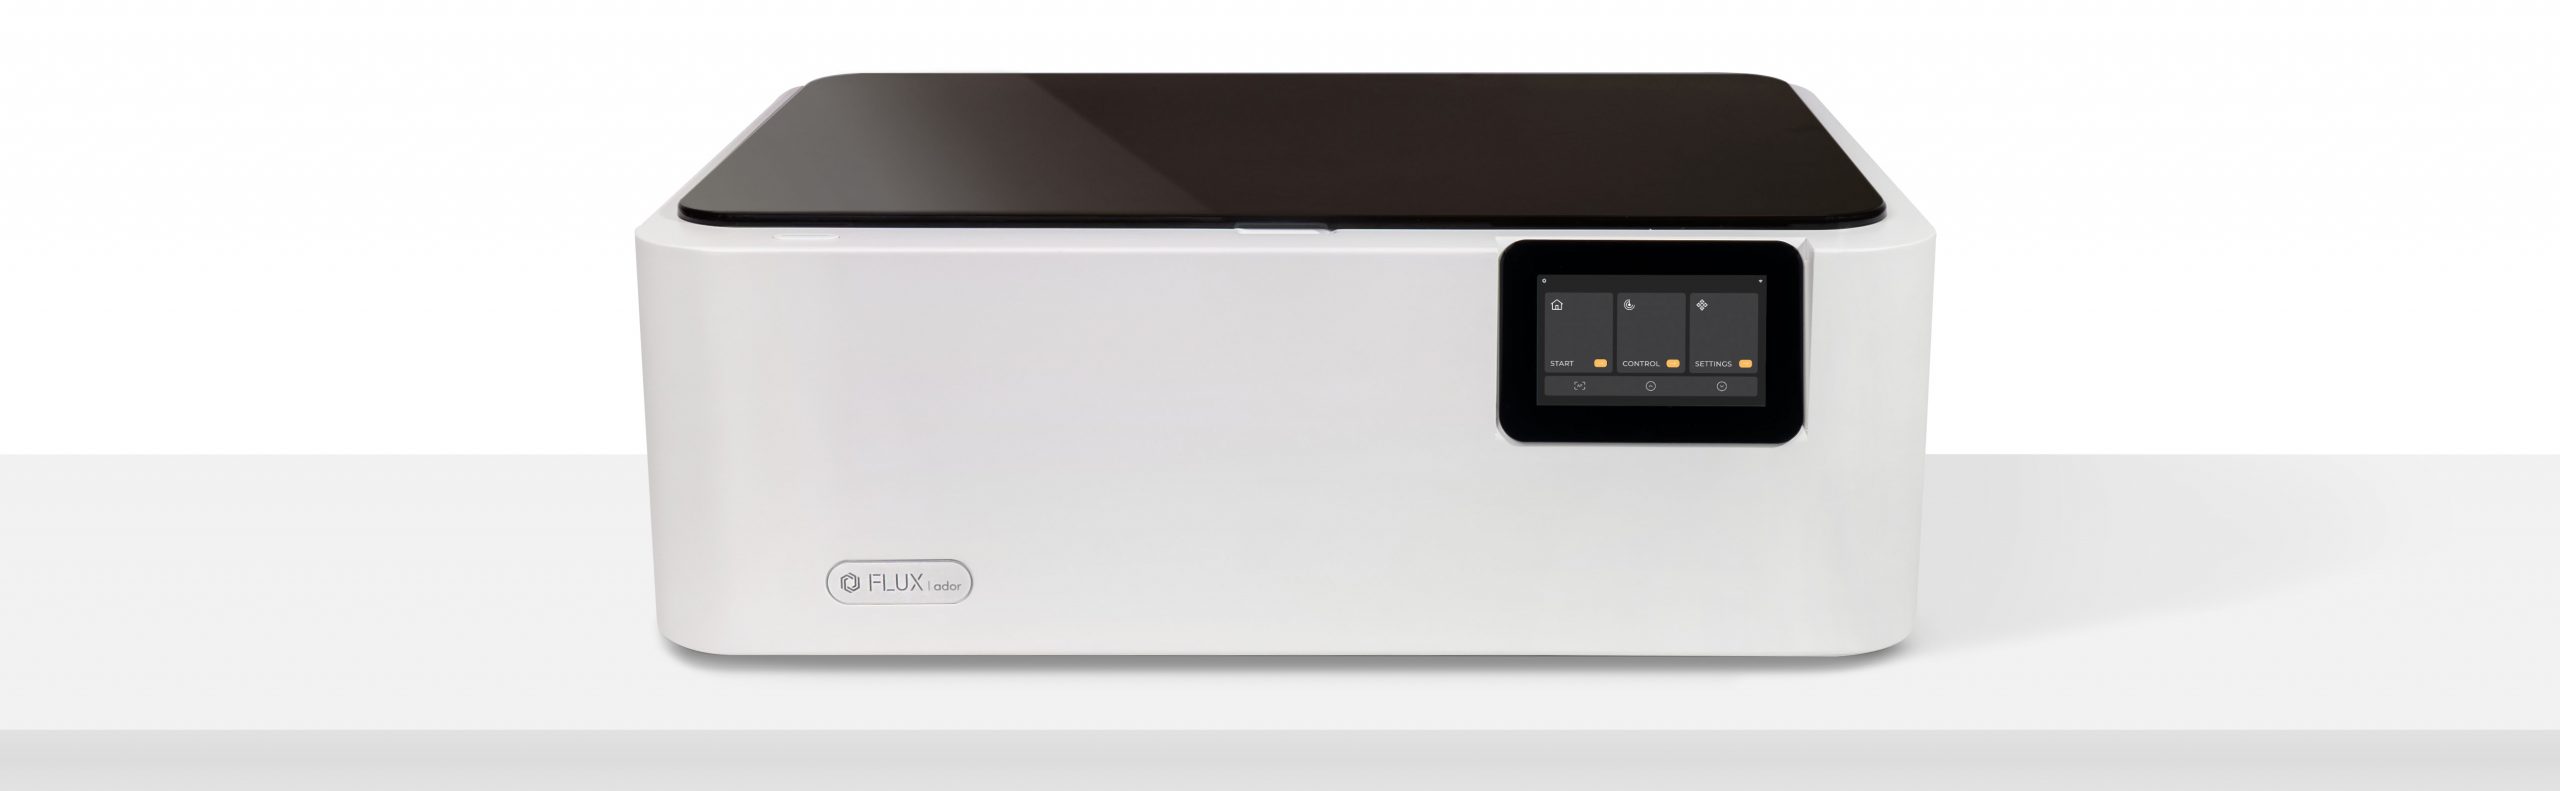
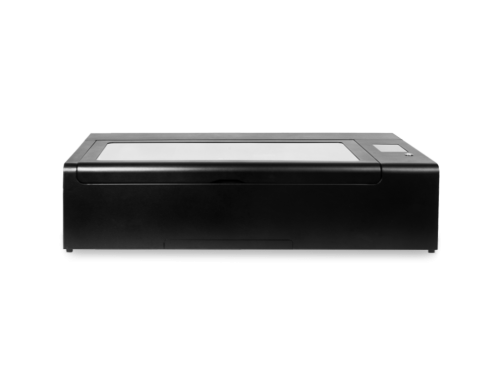
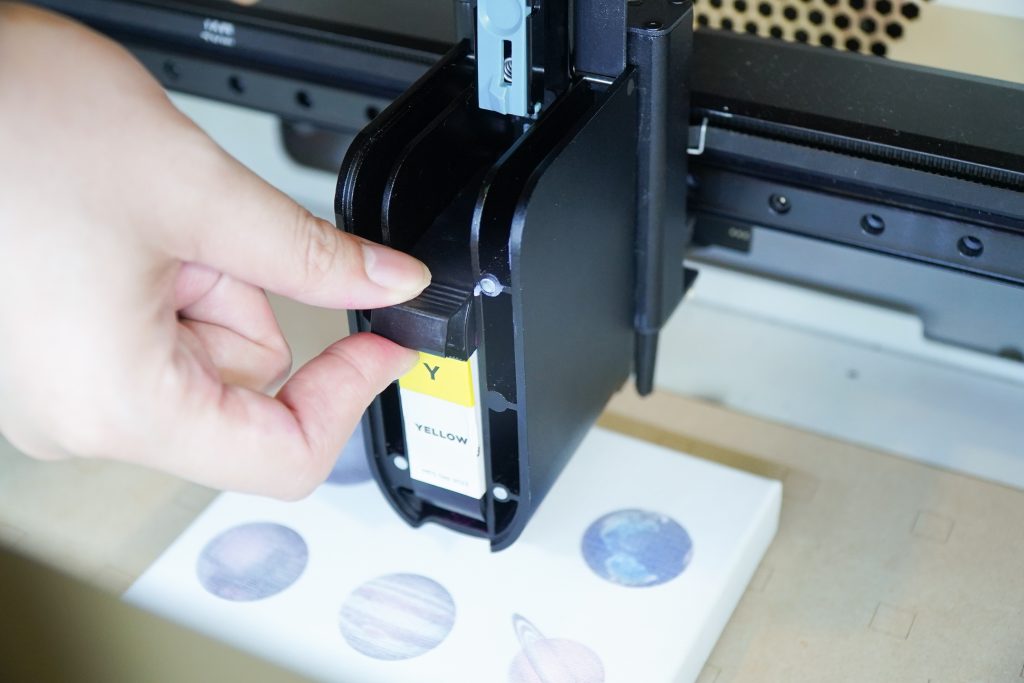
Ador features an expansive workspace measuring 430mm x 300mm, with a depth of 30mm, providing ample room to broaden your creative scope. Ensure that your materials do not exceed these dimensions. Additionally, for lighter materials, it’s advisable to use paper tape for stabilization to prevent them from being displaced by the airflow from the air assist during the operation of the printing module.

Step 2 - Camera Preview

Ador comes with an 8MP high-resolution camera, enabling you to quickly preview your materials with just one click. Once you’ve previewed your materials, position your image on them. The printing module will then precisely print on the area where you’ve placed your image.

Step 3 - Parameter Setting

Once you’ve previewed the material, you have the option to fine-tune the desired ink output. You can also divide the image into CMYK’s four layers and modify the gradient and curves using Beam Studio’s sidebar. After making these adjustments, simply click ‘Start’ to transmit the file to the machine.

Step 4- Change Ink

Ador is equipped with individual ink cartridges in Cyan, Magenta, Yellow, and Black. For colored prints, just switch out the cartridge as needed. Additionally, Beam Studio will prompt you with a pop-up notification to remind you when it’s time to change the inks.

Ador

The World’s First Color
Printing Laser Cutter

laser cutter beamo product

beamo

The World’s Smallest
CO2 Laser Cutter/Engraver

laser cutter beambox product

Beambox

The Smart Desktop
Laser Cutter & Engraver

HEXA

Beyond
Your Profession

全彩登場,
雷切機上也能玩出無限色彩。

beamo II 搭載 30W CO2 雷射,不只是精細、強勁,更是你實現創意的最好夥伴。無論是木頭、皮革、紙板、布料,甚至透明或絢彩壓克力,都能俐落切割、細膩雕刻。不再被材質限制,不再被靈感耽誤。只要一台 beamo II,所有點子,都能成真。

寵物吊牌

客製化吊飾

金屬餐具

客製鑰匙鏈

立即解鎖全金屬雕刻

無論是客製化的金屬飾品、獨一無二的獎牌,還是專屬標牌和工具,beamo II 的 2W 紅光雷射頭都能雕刻出細膩、清晰的圖案與文字,金屬不再是你創作的阻礙。


全彩登場,
雷切機上也能玩出無限色彩。

beamo II 搭載 30W CO2 雷射,不只是精細、強勁,更是你實現創意的最好夥伴。無論是木頭、皮革、紙板、布料,甚至透明或絢彩壓克力,都能俐落切割、細膩雕刻。不再被材質限制,不再被靈感耽誤。只要一台 beamo II,所有點子,都能成真。

個性貼紙

電腦模型

客製服飾

客製立牌

四色整合,從靈感到成品一步到位。

靈感一來,直接上色。beamo II 配備 CMYK 四色墨水系統,一次完成完整色彩輸出。四色整合的設計,讓每一筆、每一道顏色,都能同時呈現,層次飽滿、細節出色。從靈感萌生到成品誕生,一氣呵成。讓你的創作,不只快,還更美。

搭配 CO2 雷射,創作更多元。

黑白,不再是雷切機的唯一選項。beamo II 開創先例,成為全球首台搭載彩色列印的 CO2 雷射切割機,一次噴印 CMYK 四色,色彩純淨、層次分明,品質更勝以往。不論是細膩的漸層、飽滿的圖案,還是豐富的設計細節,beamo II 都能完美呈現,讓每個作品都充滿生命力。

600 DPI,彩印精度也講究。

beamo II 提供高達 600 DPI 的彩印精度,讓每一個顏色都更飽滿、更細膩。漸層的柔和、細線的銳利、明暗的層次,都能被真實還原,作品質感一眼就能看見。無論是專業的作品集,還是獨一無二的禮物,都能印出讓人驚艷的細節。用 beamo II,把每個顏色都做到最好,成就每一次創作的高質感。

30W CO2 雷射,
精細的剛剛好。

beamo II 搭載 30W CO2 雷射,不只是精細、強勁,更是你實現創意的最好夥伴。無論是木頭、皮革、紙板、布料,甚至透明或絢彩壓克力,都能俐落切割、細膩雕刻。不再被材質限制,不再被靈感耽誤。只要一台 beamo II,所有點子,都能成真。

生日立牌

客製化寵物碗

益智遊戲

客製化冰壩杯

雕切隨心所欲。

beamo II 讓創意不只是想法,而是隨手可得的作品。從精緻小物到獨特禮品,從課堂實驗到專業設計,它都能輕鬆完成。每一次切割與雕刻,都是把靈感化為真實的瞬間。

1000 DPI,經得起看。

即使再細微的紋理、再複雜的圖案,beamo II 也能清晰呈現。高達 1000 DPI 的精細度。無論是精緻吊飾、獨一無二的禮物,還是要求嚴苛的專業作品,即使放大檢視,也依然完美無瑕。

搭配彩色列印,創作更多元。

黑白,不再是雷切機的唯一選項。beamo II 開創先例,成為全球首台搭載彩色列印的 CO2 雷射切割機,一次噴印 CMYK 四色,色彩純淨、層次分明,品質更勝以往。不論是細膩的漸層、飽滿的圖案,還是豐富的設計細節,beamo II 都能完美呈現,讓每個作品都充滿生命力。

當創作需要更大的舞台

想挑戰更厚的材料,或者開啟更進階的創作玩法?加上 beamo II 的擴充底座套件後,從原本的 3 公分提升到 15.5 公分,厚木板、立體物件都能輕鬆放入。搭配擴充底座即刻解鎖使用自動送料和夾爪旋轉軸這兩個套件,解鎖更多創作可能。

當靈感需要更長的篇幅

想挑戰更厚的材料,或者開啟更進階的創作玩法?加上 beamo II 的擴充底座套件後,從原本的 3 公分提升到 15.5 公分,厚木板、立體物件都能輕鬆放入。搭配擴充底座即刻解鎖使用自動送料和夾爪旋轉軸這兩個套件,解鎖更多創作可能。

圓柱體、球型也難不倒

創作,不該只有平面。beamo II 的夾爪旋轉軸套件輕鬆把創意延伸到各種立體物件上。從玻璃水杯、酒瓶到棒球,都能變成你的獨一無二創作。

*此套件需搭配擴充底座套件

創作空間更乾淨的解法

創作時,靈感需要自由呼吸,你也一樣。搭配 Beam Air 空濾機,不必擔心雷射雕刻時產生的煙塵與異味,它能高效過濾工作中產生的污染,保持空氣乾淨清新。不論是在家、工作室還是店面,Beam Air 都能守護你的環境,讓你更安心、專注地投入每一次創作。


一次看懂兩代的不同