Beam Studio
Guide

Table of Contents

When selecting the perfect laser cutter, it’s important to consider more than just the hardware specs like laser source, work area, and cutting thickness. The user-friendliness of the software is equally crucial. FLUX has developed Beam Studio, a dedicated software for our laser cutters, featuring an intuitive interface and support for multiple file types to ensure the smoothest creative experience. This year, FLUX has introduced several new generative features that allow users to create laser engravings with a single click, making it easy for those without design expertise to get started. In this edition of our machine guide, we’ll walk you through five exciting new features of Beam Studio. Join us as we explore Beam Studio’s innovative generative tools!

Generative Tools for Effortless Creation

3D Box Generator

You heard it right! Beam Studio now features a box generator! Just enter the length, width, and height of the rectangle in the interface, and with one click, you can generate the unfolded lines of a 3D box. The box generator offers three joint designs: “edge,” “finger joint,” and “T-slot,” so you can choose the best option for assembling and gluing your box. Once generated, simply use the built-in cutting parameters in Beam Studio to start cutting.


How to Use:
1 Click on “Boxgen” (cube icon) in the left toolbar.
2 Enter the height, width, depth, and thickness.
3 Choose the joint type.
4 Set the cutting parameters.
5 Start the cutting process.

QR Code Generator

If you handle custom product orders, this new feature is a game-changer! Beam Studio now includes a QR Code generator, allowing you to create QR codes directly within the software. No more switching between programs for drawing and file conversion—this streamlined process makes your workflow smoother. With this tool, you can easily produce essential items like QR code signs and tags, expanding your custom product offerings and increasing your brand’s revenue.     How to Use: 1. Click on the “QR Code” icon in the left toolbar. 2. Enter the desired link. 3. Click confirm.

Essential Tools for High-Efficiency Creation

Curated Clipart

Looking to add some flair to your handmade products but running out of ideas? Beam Studio now supports over 400 image assets across various themes like animals, holidays, and woven decorations, all commercially usable. There’s no need to purchase PNG files from paid websites; you can complete your creations directly within Beam Studio.


How to Use:

1. Click on the “Elements” icon in the left toolbar.
2. Choose the element you want to engrave/cut.
3. Click confirm.

Auto Arrangement

Do you often wish you could make better use of leftover materials after laser engraving? Beam Studio has the perfect solution! The “Auto Arrange” feature helps you automatically organize all your work images, eliminating the need for manual adjustments. This not only speeds up your workflow but also maximizes the usable area of your materials, reducing waste significantly. How to Use: 1. Import your image file. 2. Click on the “Auto Arrange” feature in the right toolbar. 3. Click “Start Arrange.”

Cloud Storage

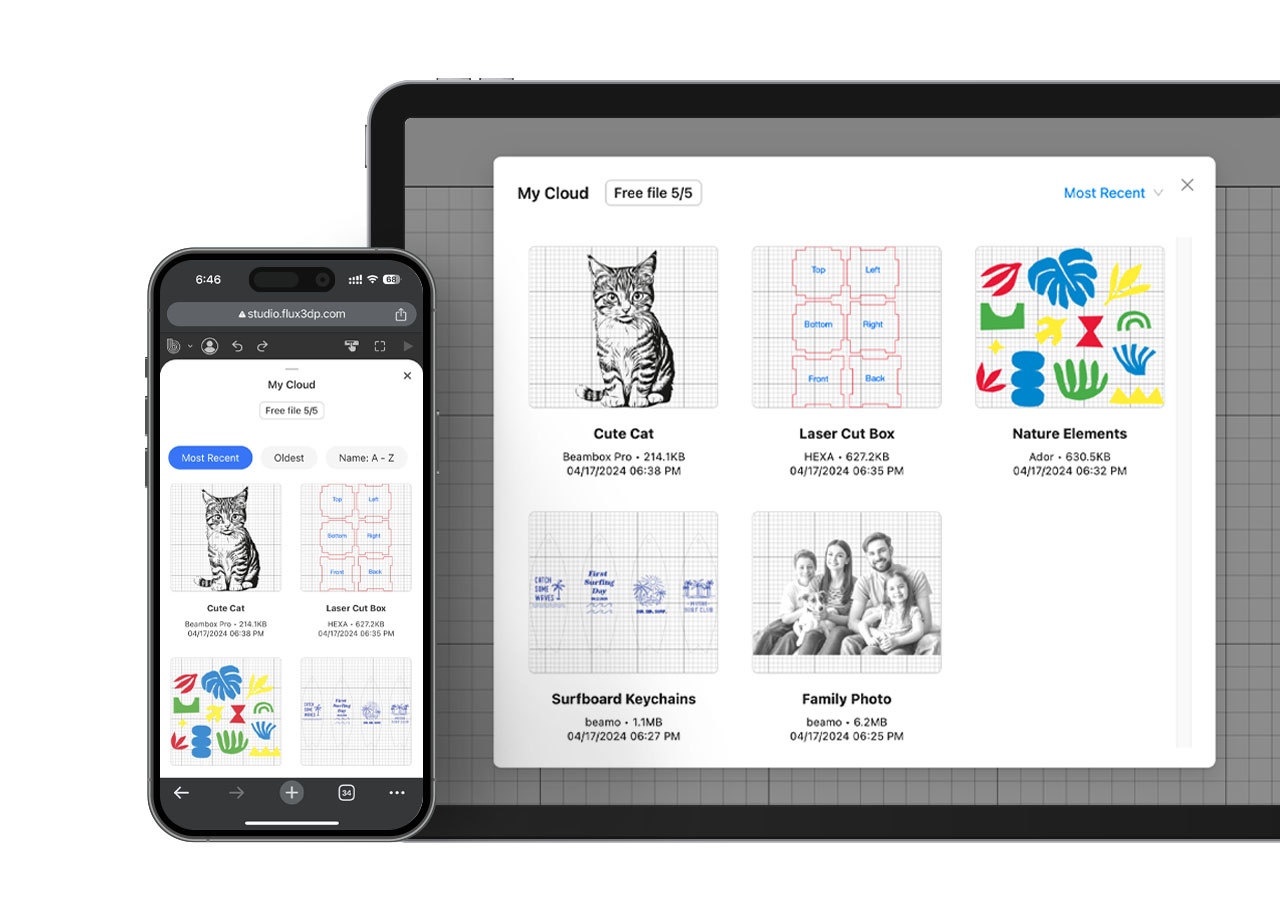
Beam Studio supports desktop, mobile, and web versions, offering cloud storage services to meet your design file backup needs. This allows you to access your files and perform laser engraving tasks anytime, anywhere, on multiple devices.


How to Use:

1. Click on File > Save to Cloud.

2. Click on the “My Cloud” icon in the left toolbar to view all your saved files.

Ador Printing Feature Upgrade

The FM Screening & AM Screening

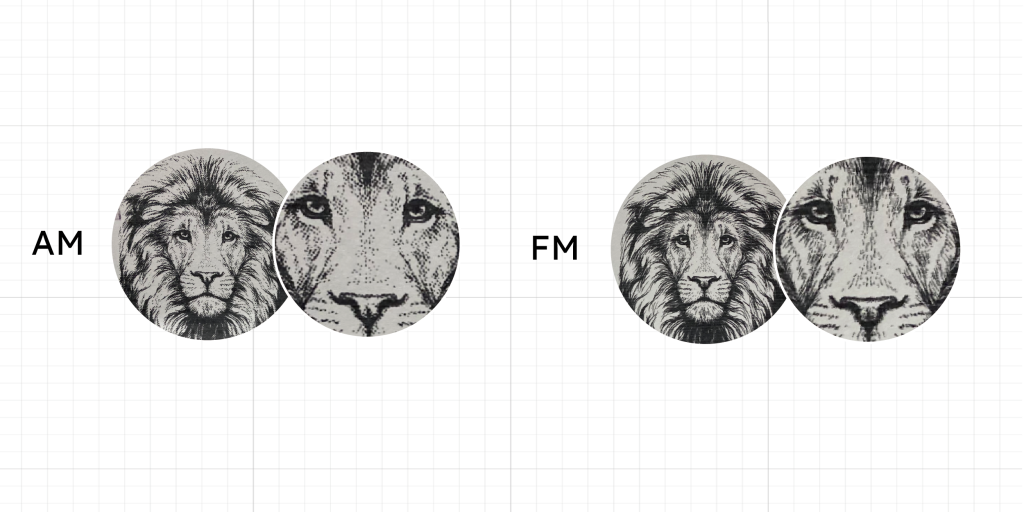
AM screening and FM screening are two main printing techniques that utilize different methods to represent color images.

In AM screening, variations in tone are achieved by altering the size of each printing dot. Within a fixed grid, the size of each dot can vary, thus creating different light and dark effects. This method is suitable for images with large areas of similar tones as it can provide uniform color coverage and more precise tone control.

On the other hand, FM screening achieves tonal variations by altering the density and spacing of dots. This means that the size of the dots remains constant, but their arrangement and distribution vary. The advantage of this method is that it can provide higher image detail and contrast, especially in images rich in textures and details.

AM or FM Screening

AM Screening :If your image contains mostly lighter or neutral colors, you could use the AM method for better color results.

FM Screening:If your image contains more details and lines, you could use the FM method to present the fineness of details.

After discovering the new features Beam Studio introduced in the first half of 2024, it’s time to power up your laser cutter and start creating with us! The software now includes a variety of graphic elements to enhance your laser engraving projects and a feature that connects directly to the Design Market, a digital file e-commerce platform. The platform offers over 50 free, commercially usable laser design files. Make the most of these resources and start creating today!

Ador

The World’s First Color
Printing Laser Cutter

beamo

The World’s Smallest
CO2 Laser Cutter/Engraver

Beambox

The Smart Desktop
Laser Cutter & Engraver

HEXA

Beyond
Your Profession