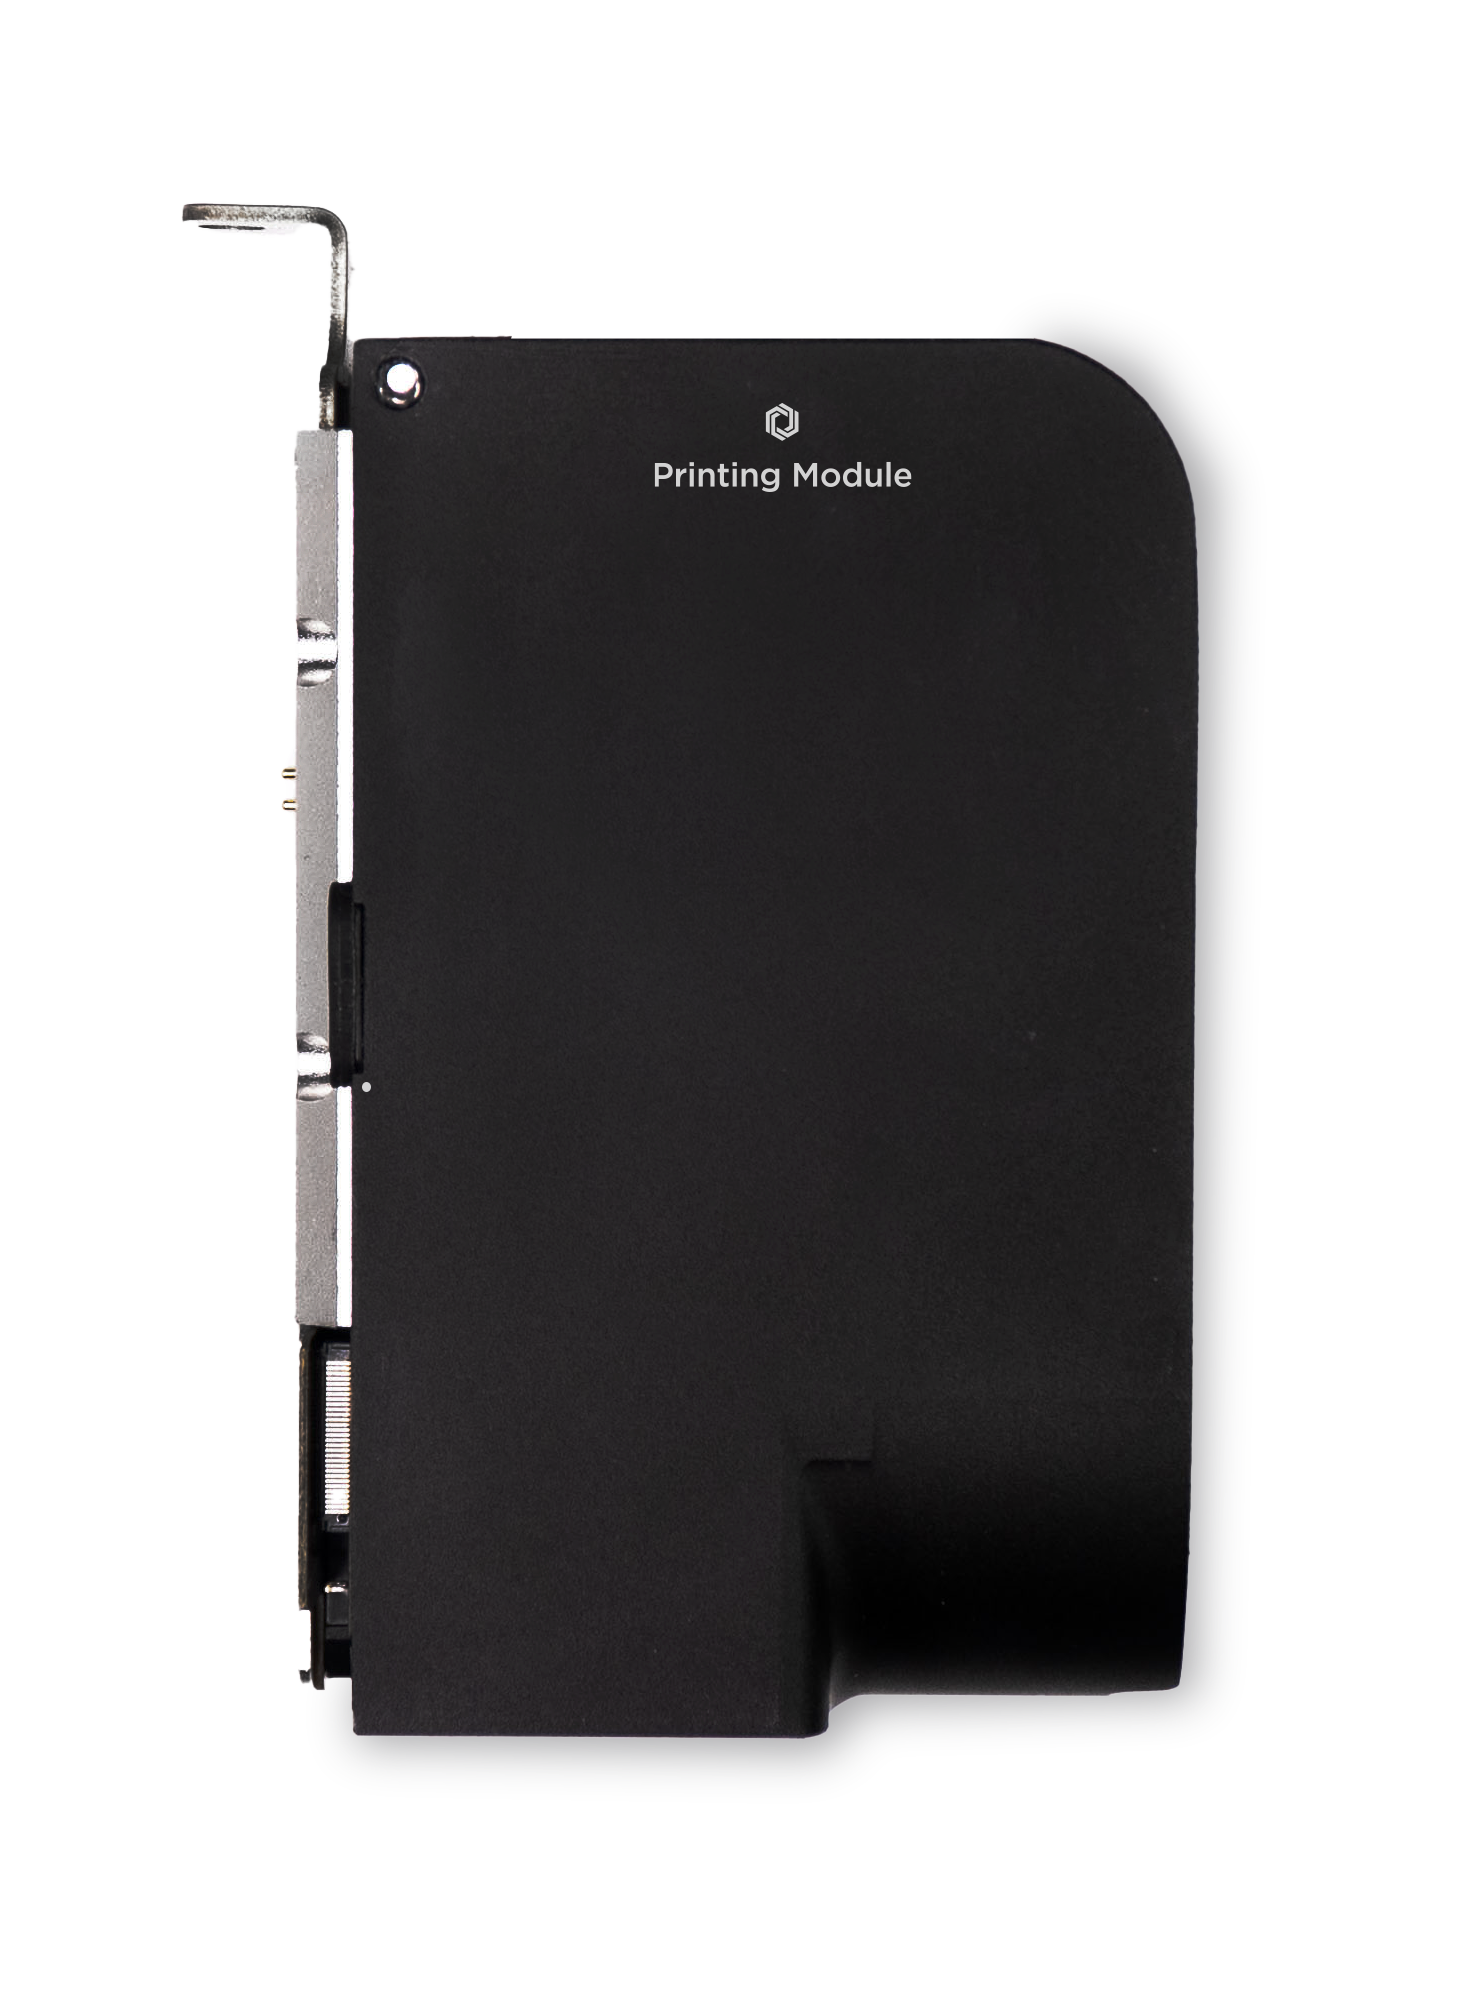
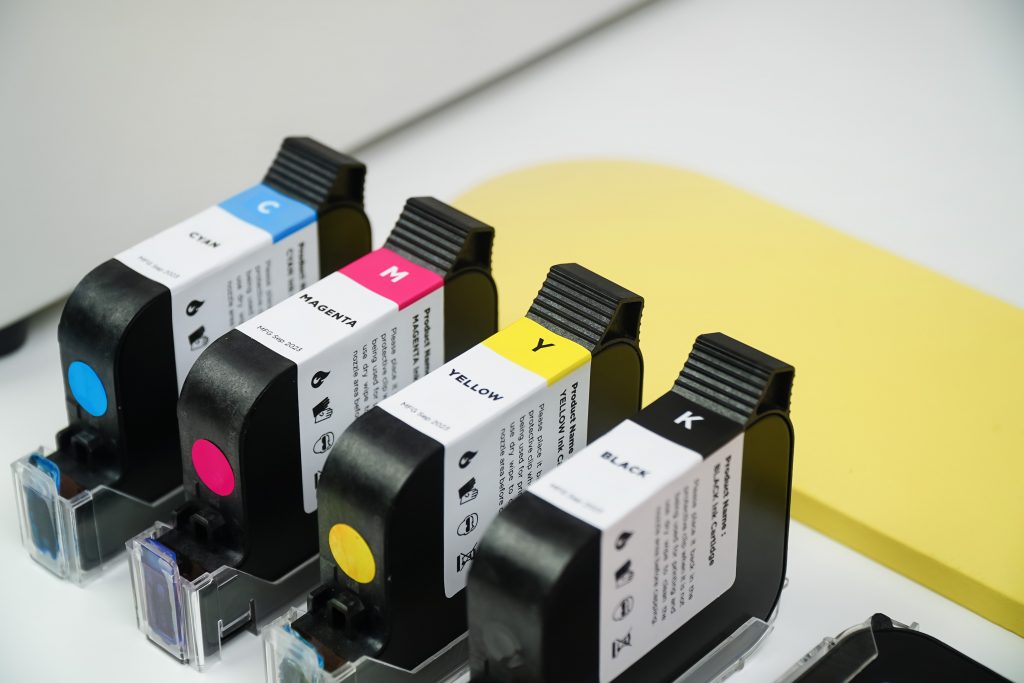
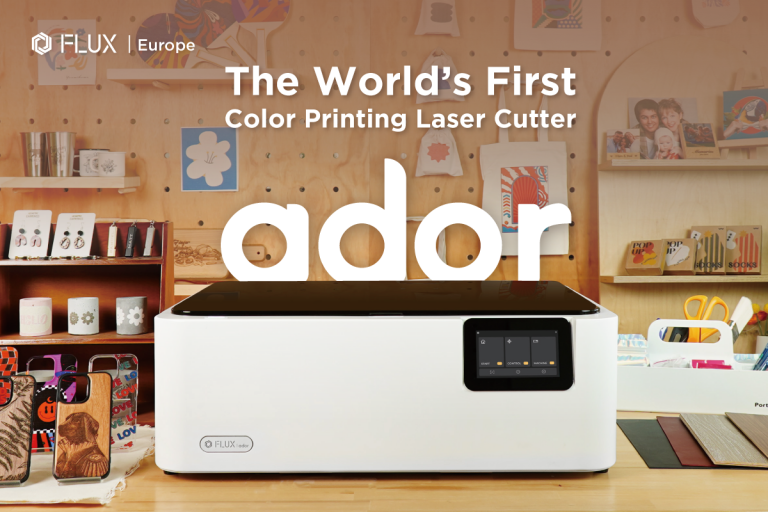
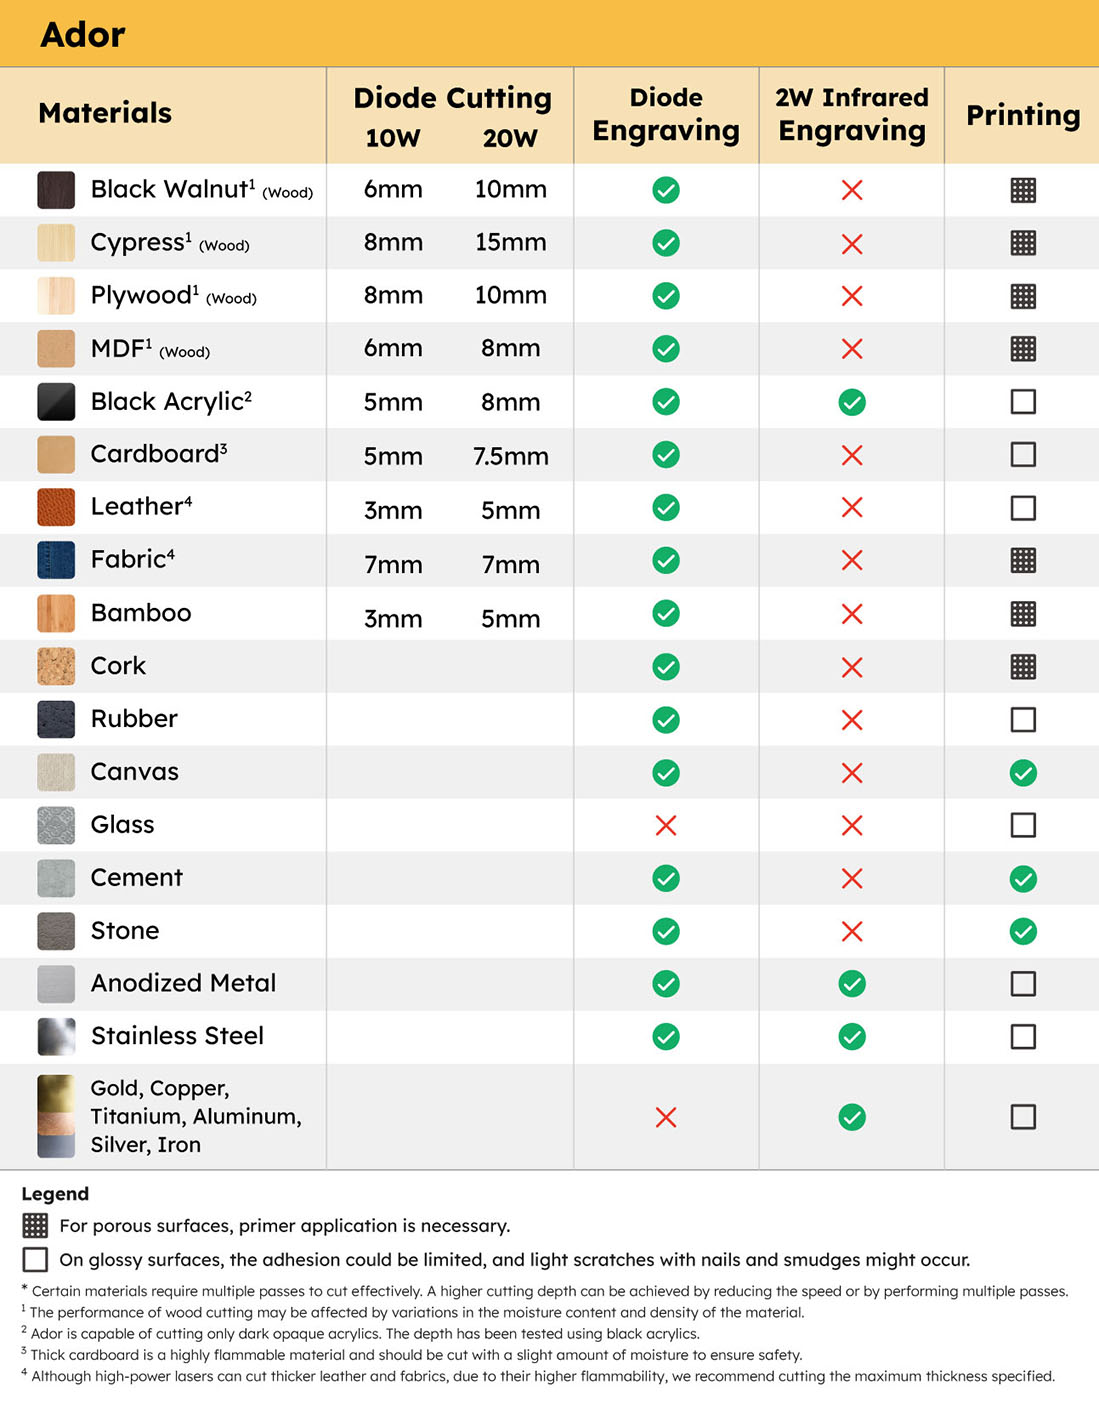
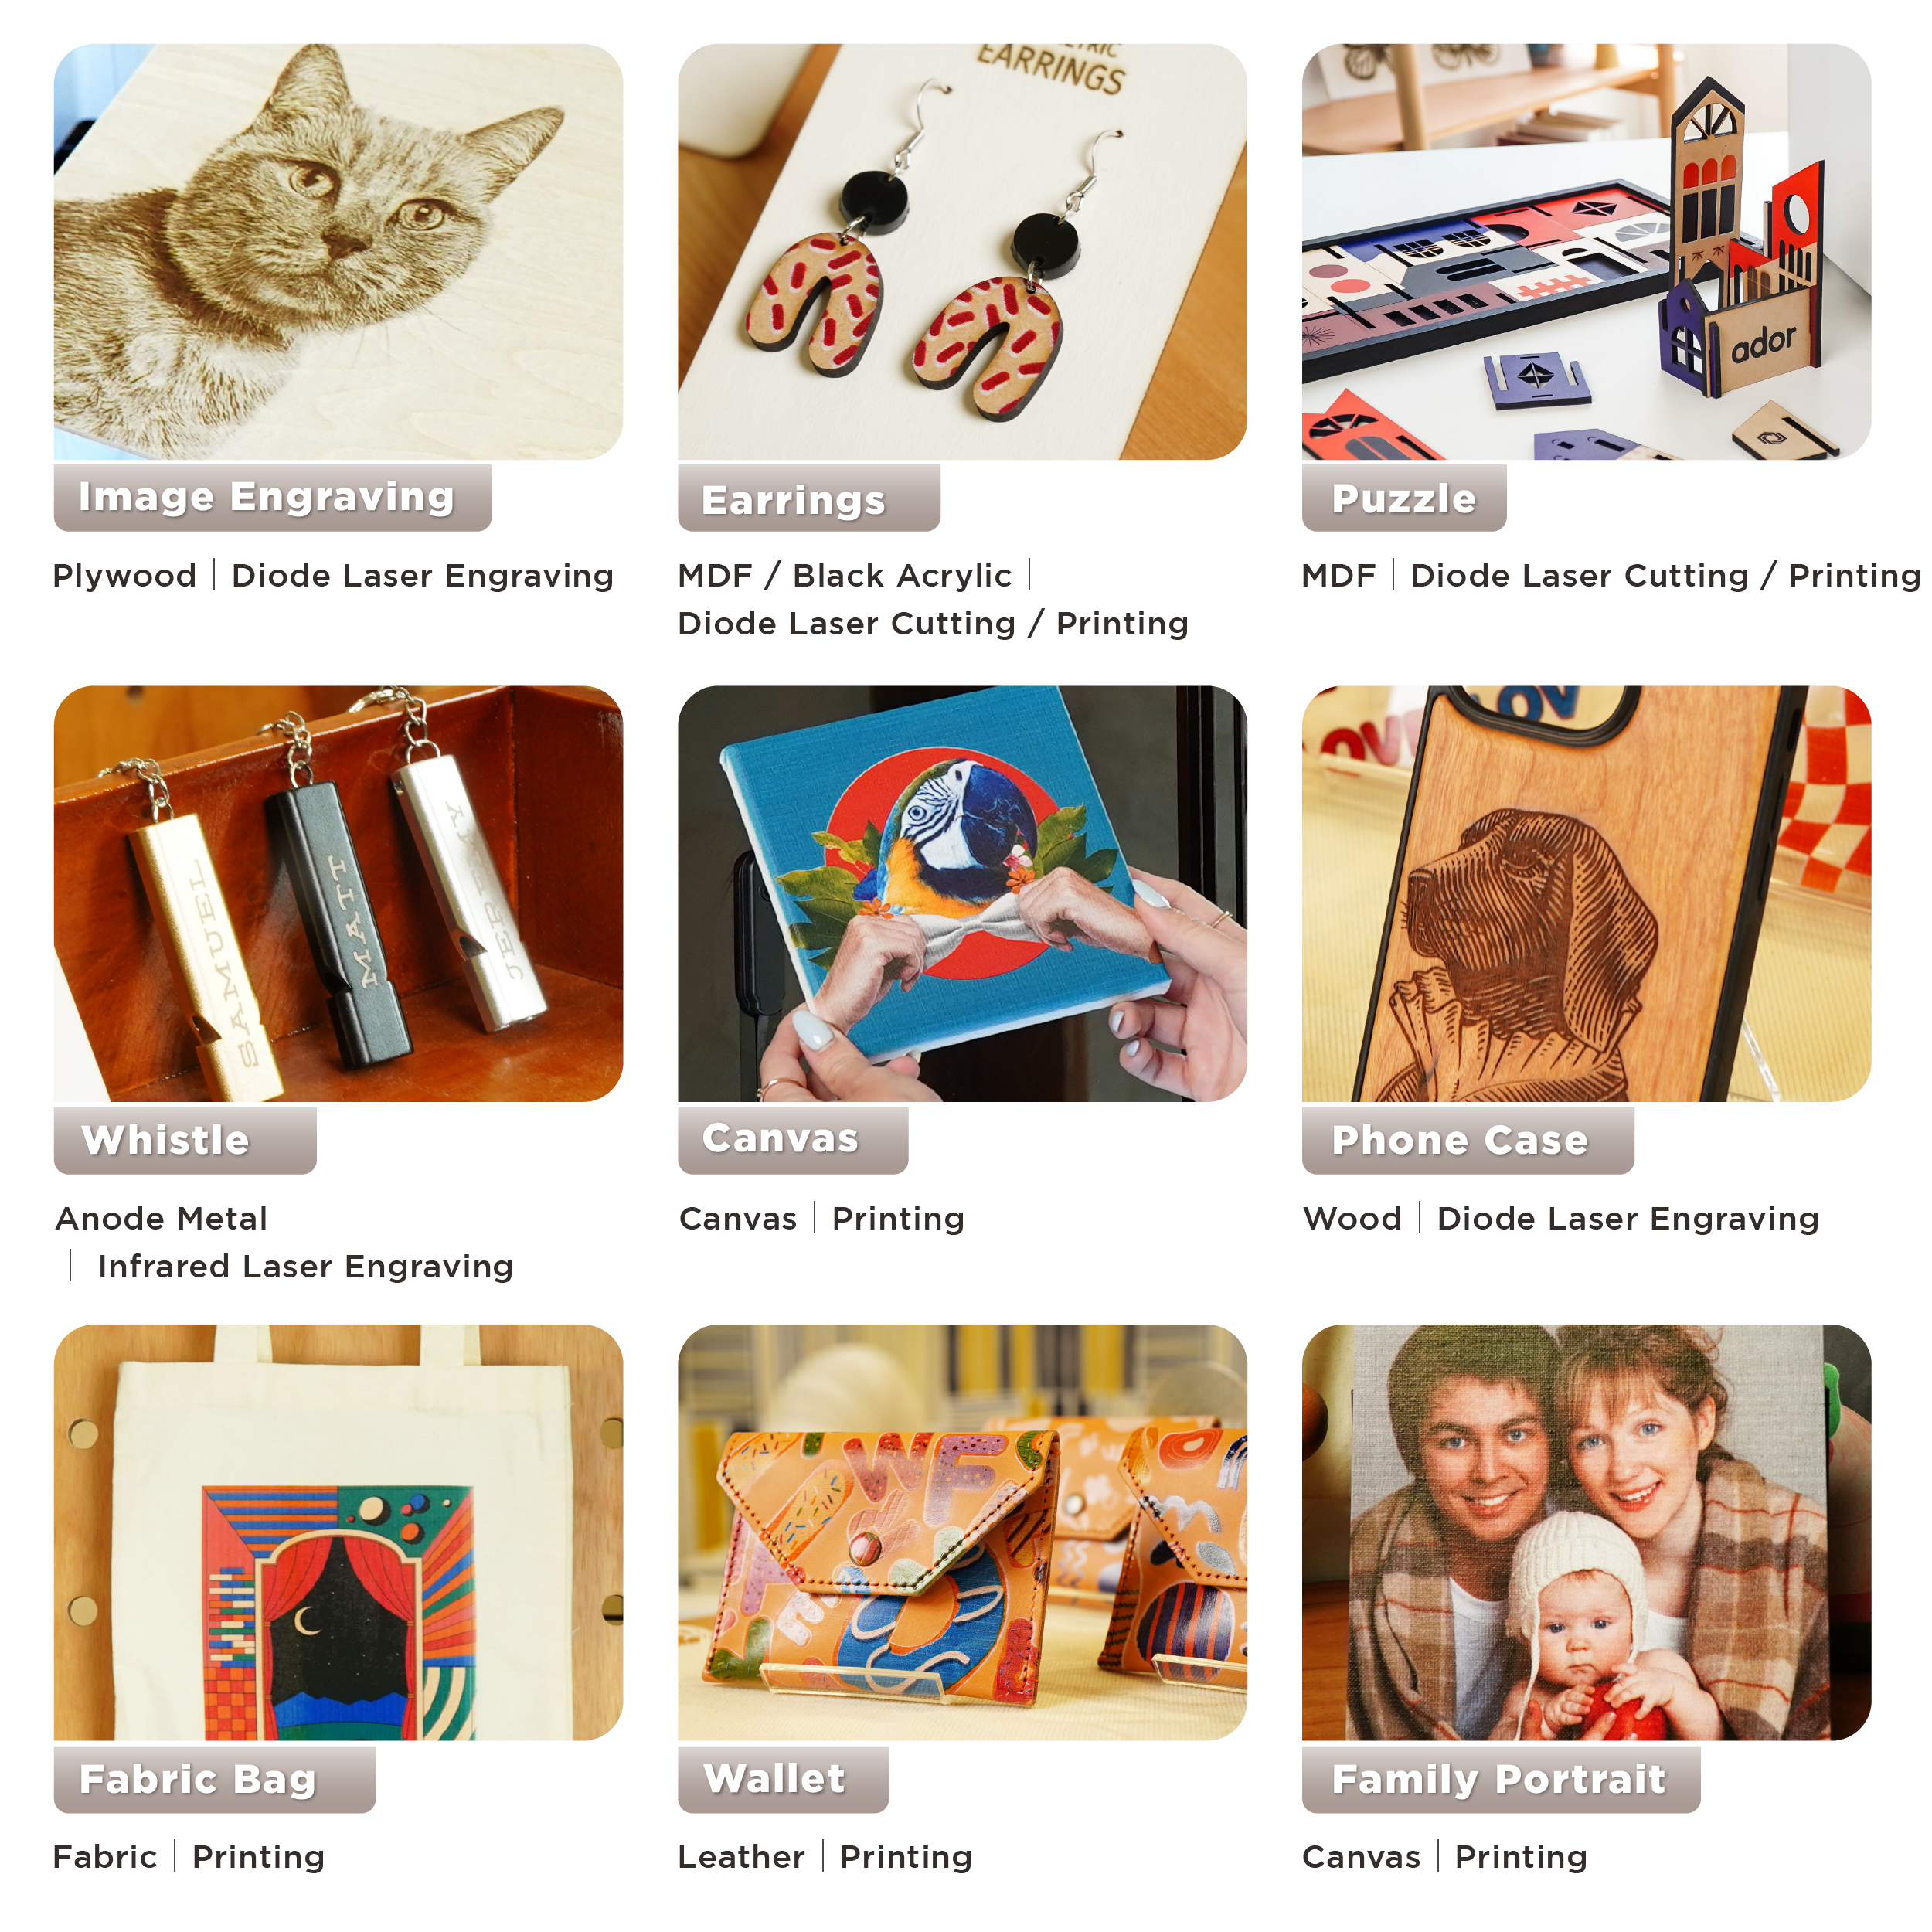
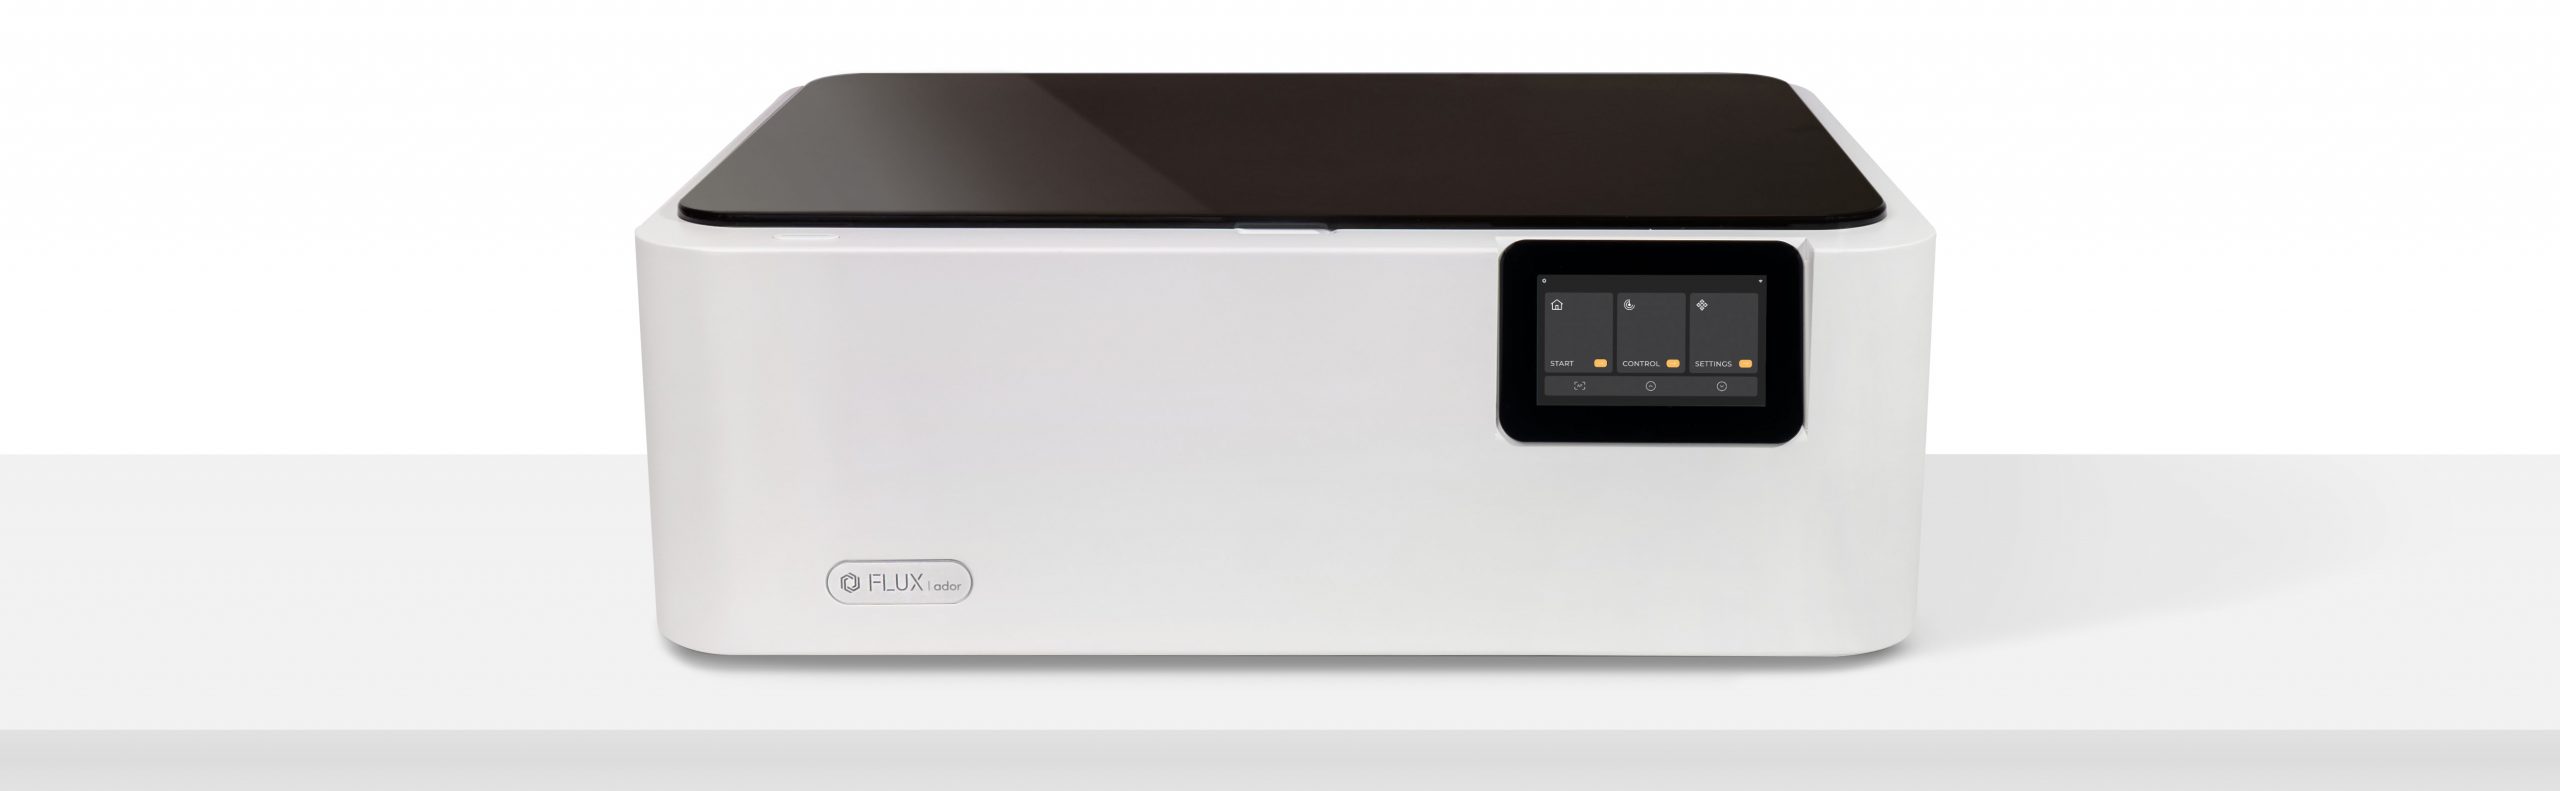
This is where Ador steps in, offering a new dimension of personalized creativity. Ador is equipped with three interchangeable, high-quality modules: a diode laser, an infrared laser, and a printing module. This versatility empowers creators to not only cut and engrave a wide range of materials but also to add vibrant colors to their projects, elevating the level of craftsmanship and innovation.
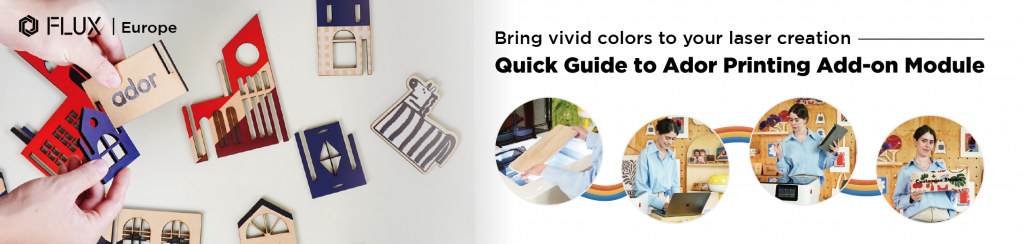
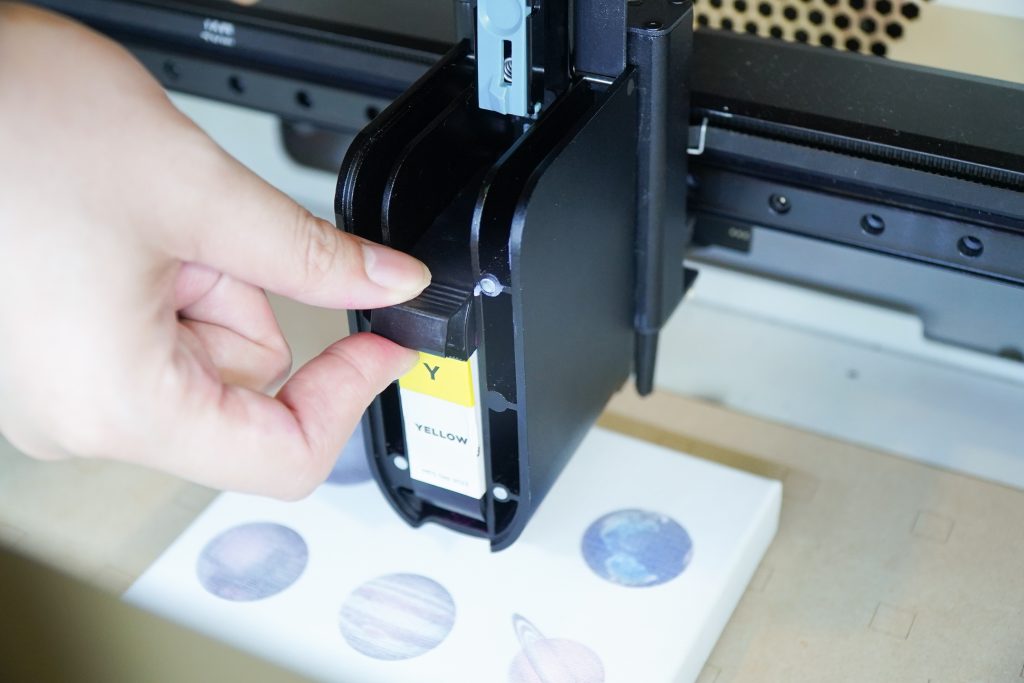
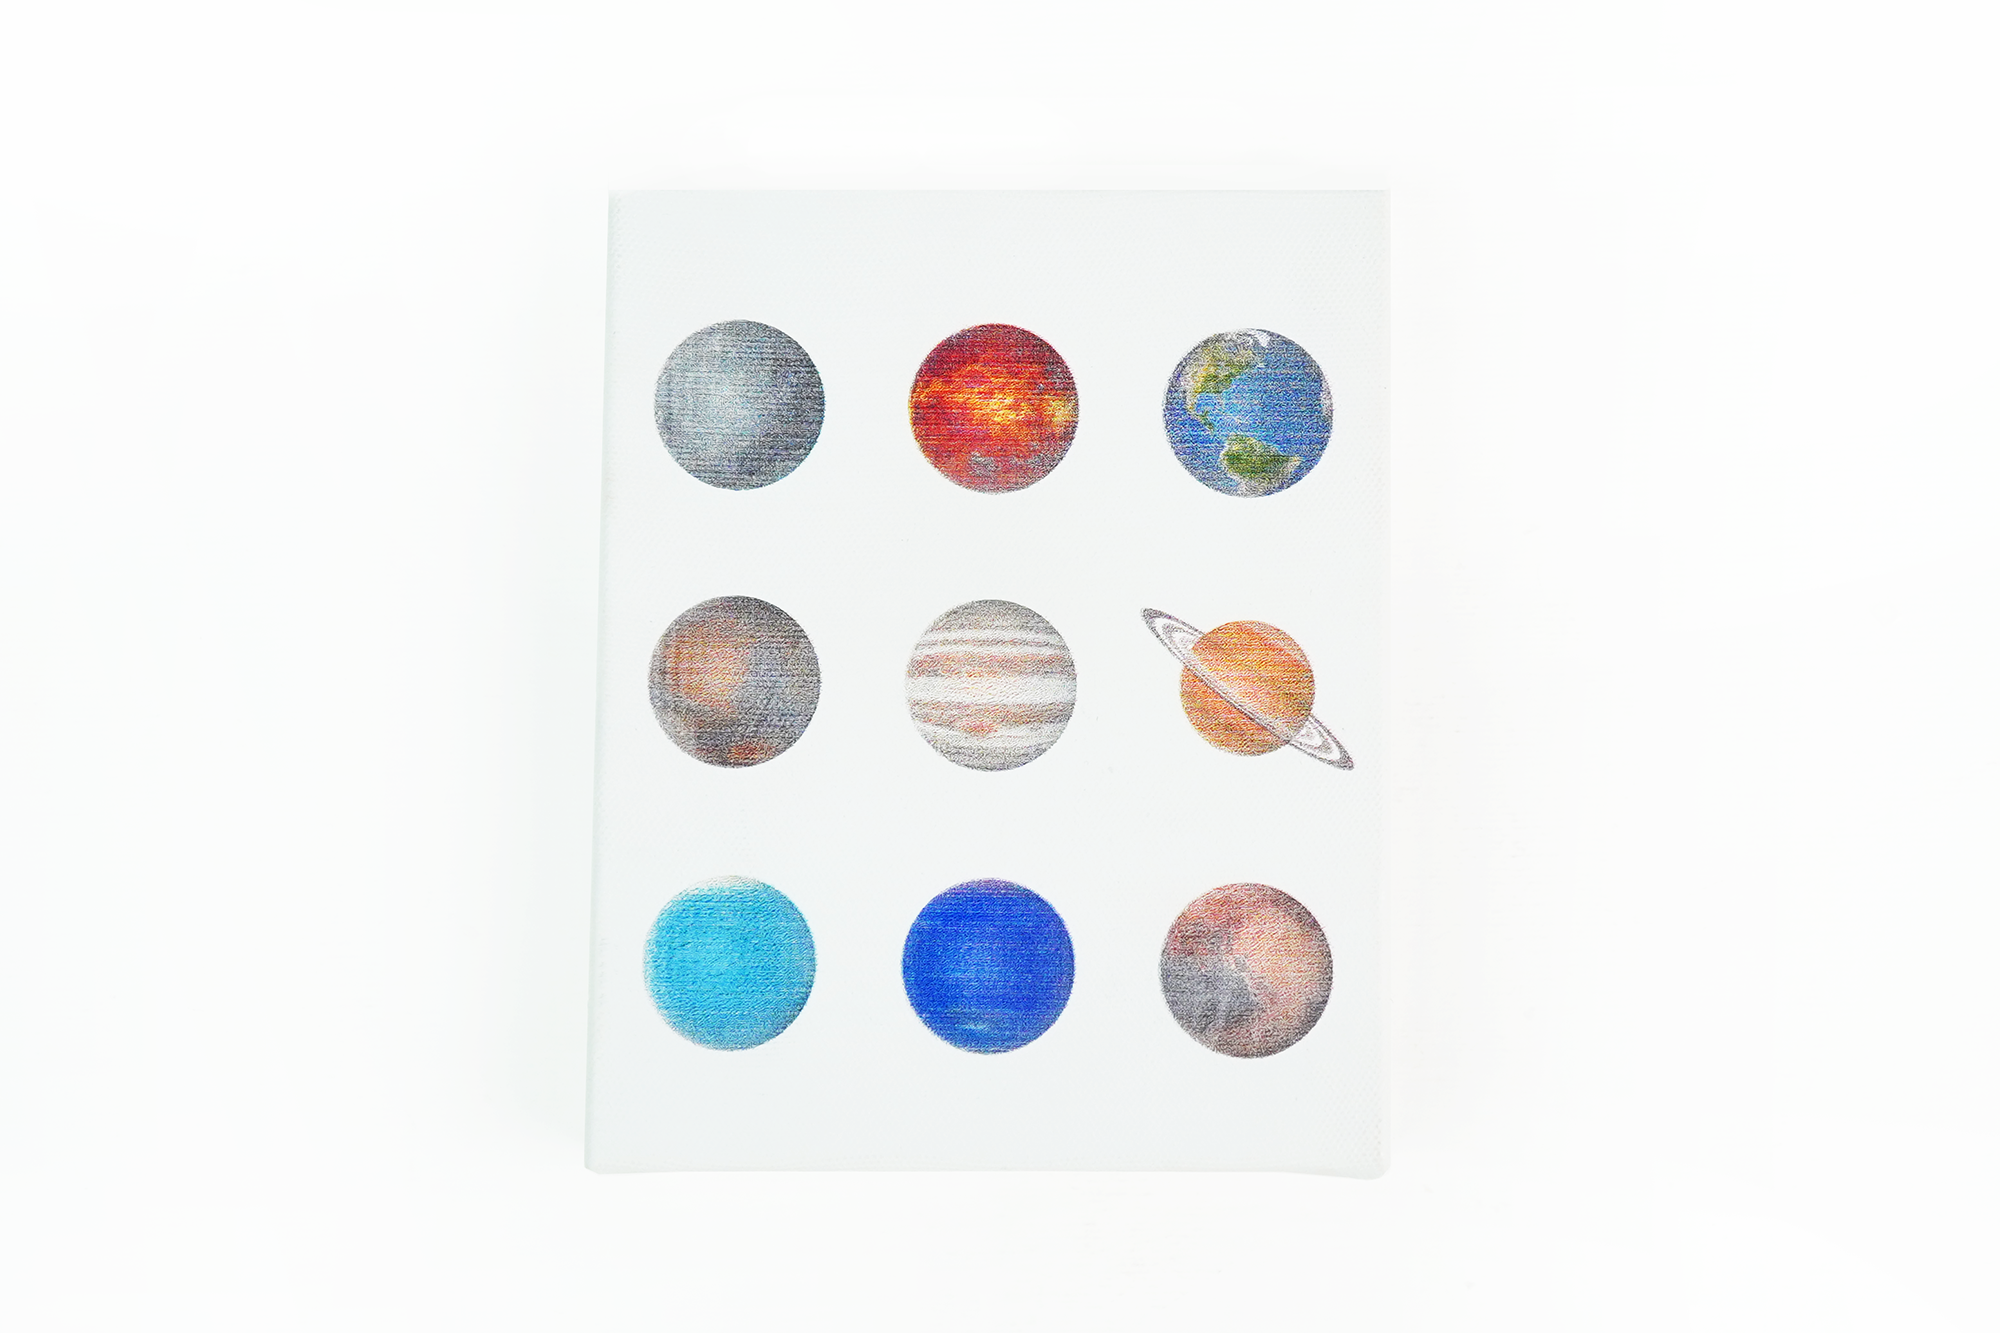
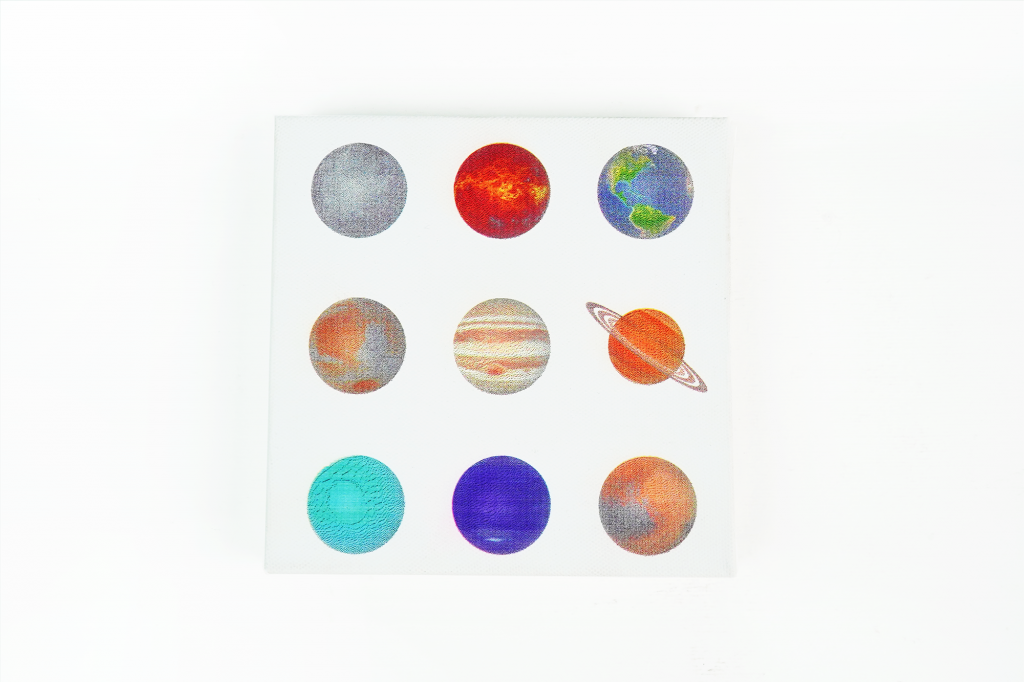
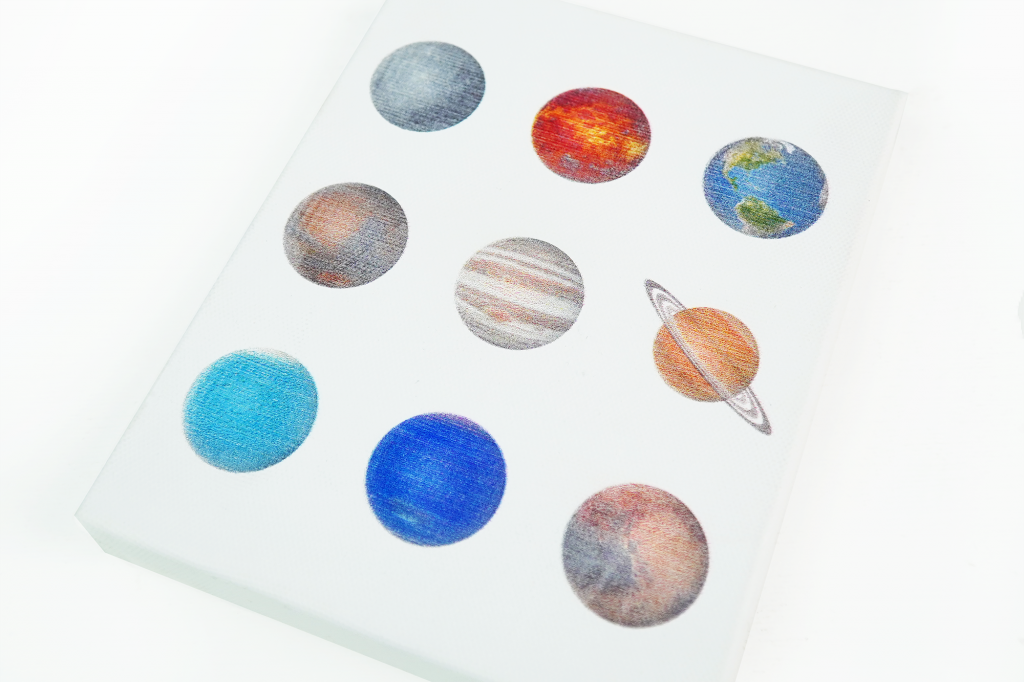
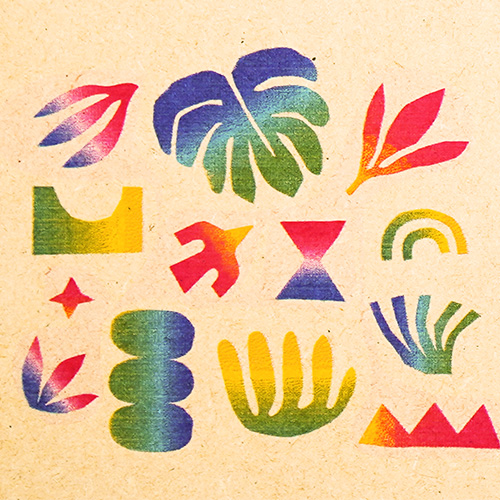
As crafters are already well-acquainted with laser cutting and engraving techniques, our focus will shift to Ador’s Printing Module, which has garnered significant interest. Join us as we explore the functionality of this printing module, demonstrating its capabilities and the impressive results it achieves on various materials.