Lorem ipsum dolor sit amet, consectetur adipiscing elit. Ut elit tellus, luctus nec ullamcorper mattis, pulvinar dapibus leo.


Lorem ipsum dolor sit amet, consectetur adipiscing elit. Ut elit tellus, luctus nec ullamcorper mattis, pulvinar dapibus leo.

Lorem ipsum dolor sit amet, consectetur adipiscing elit. Ut elit tellus, luctus nec ullamcorper mattis, pulvinar dapibus leo.

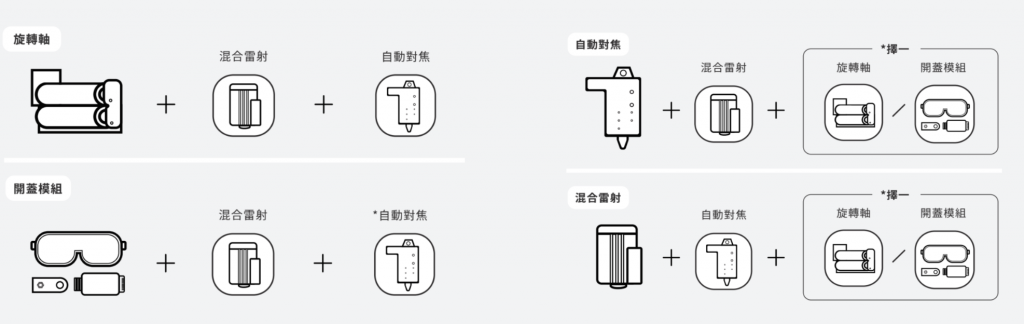
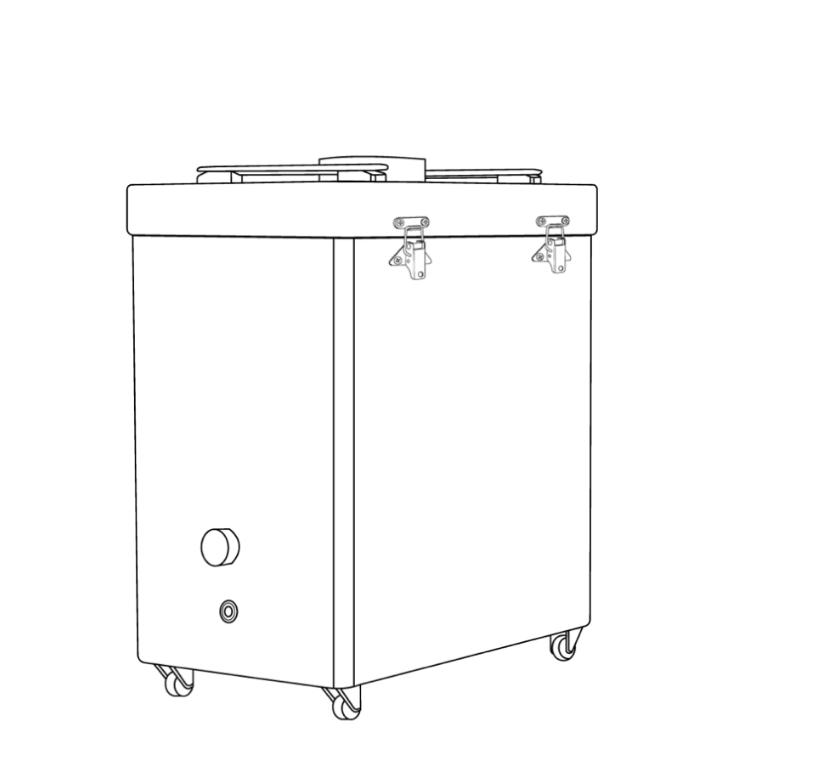
There are only 7 installation steps to set up your diode laser add-on, and every detail is in the user manual and online help center, you can check for it via this link.
We provide a 12-month warranty for FLUX diode laser add-on. If you’ve encountered an issue, please contact our technical staff, so we can determine a suitable fix.
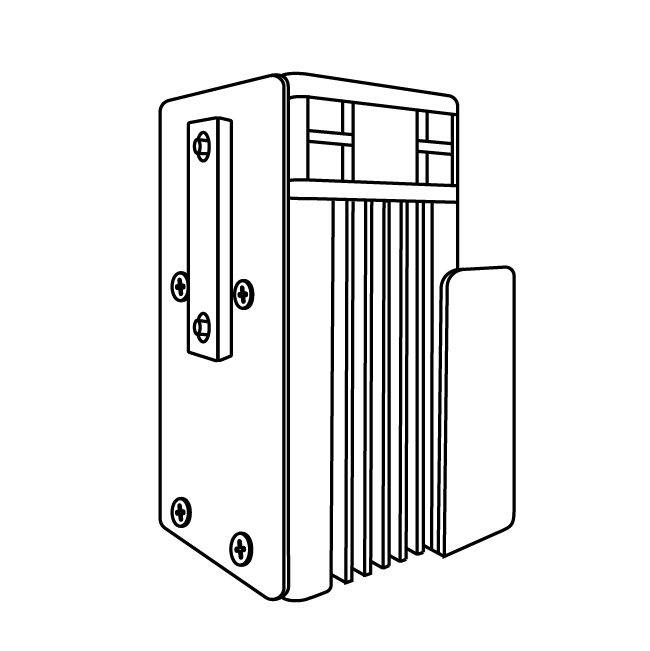
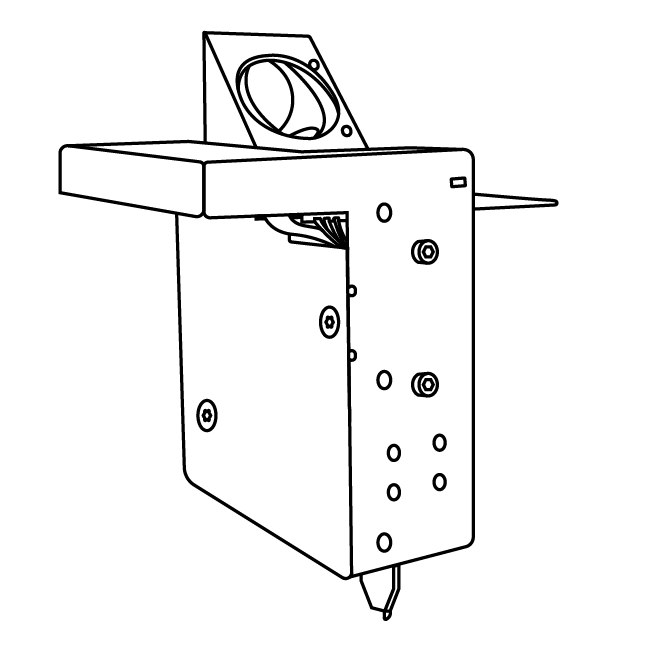
The wattage of the diode laser module is 5W, wavelength 450 nm.
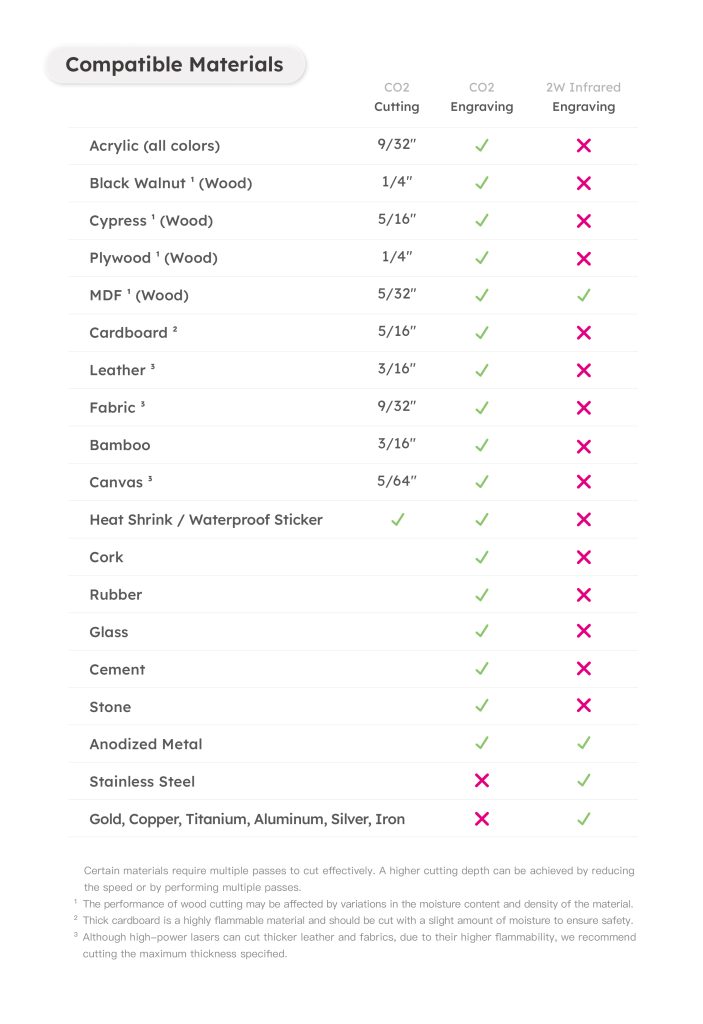
2. Why does the Diode laser module engrave stainless steels ?
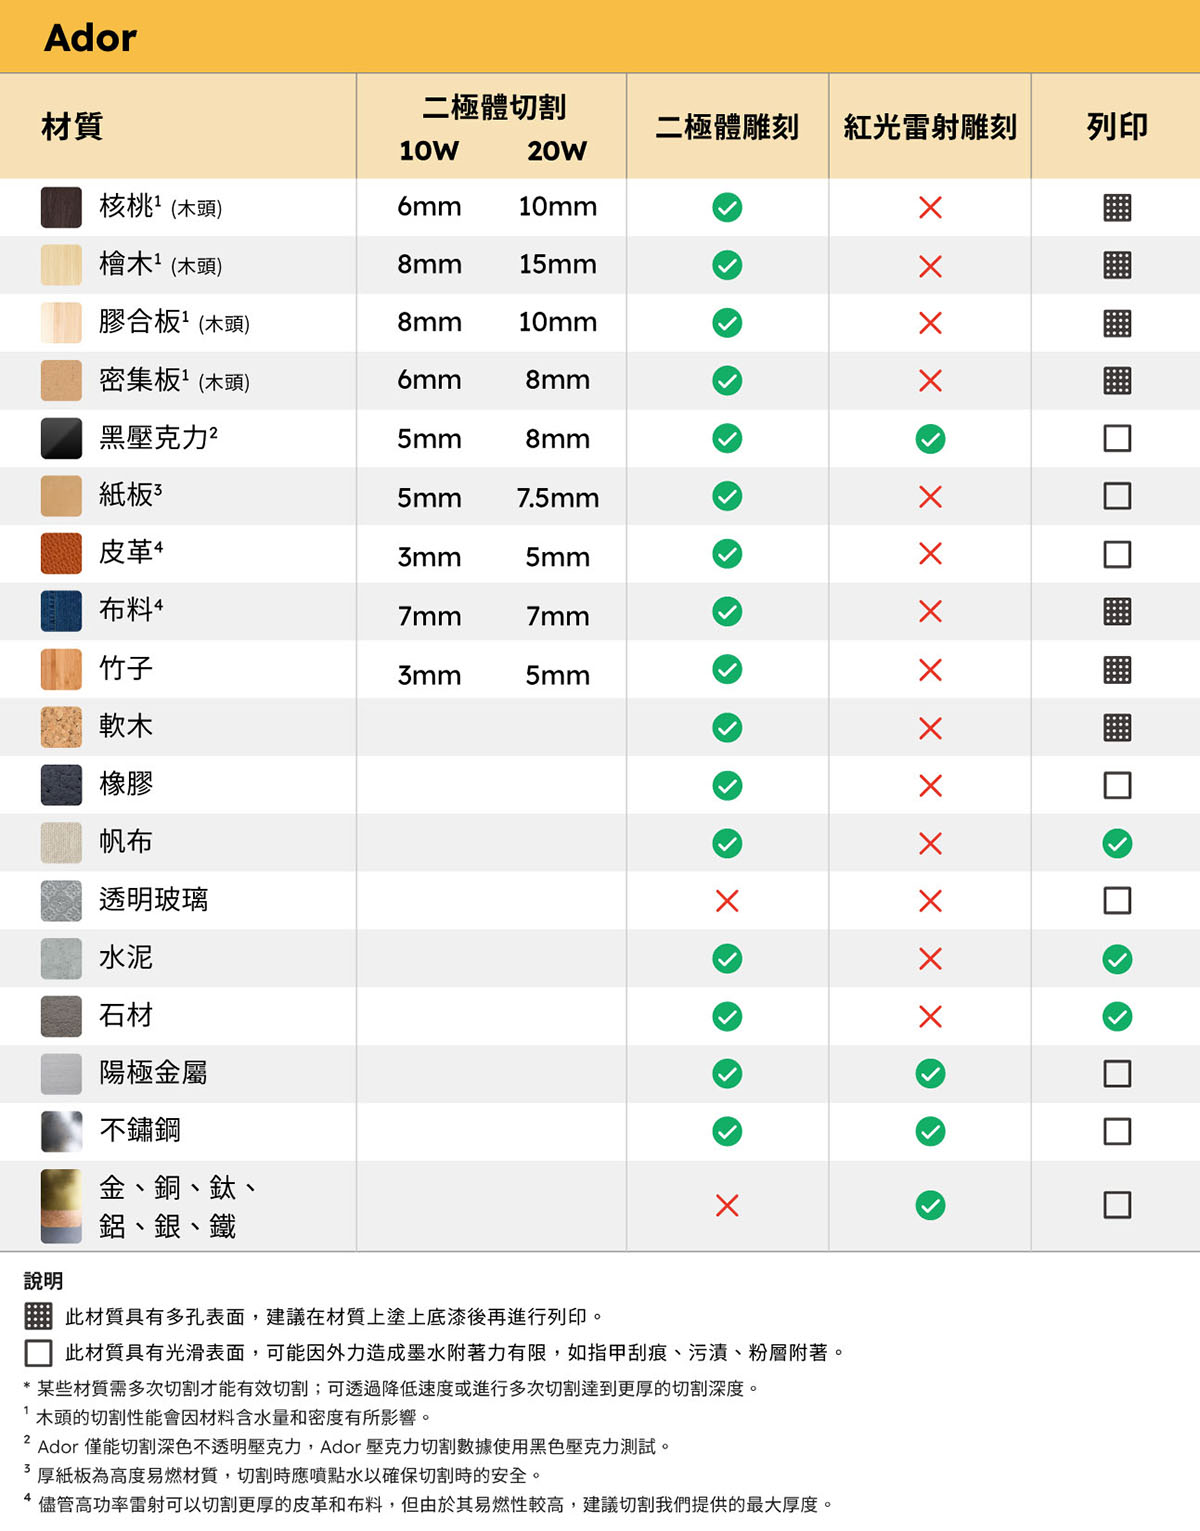
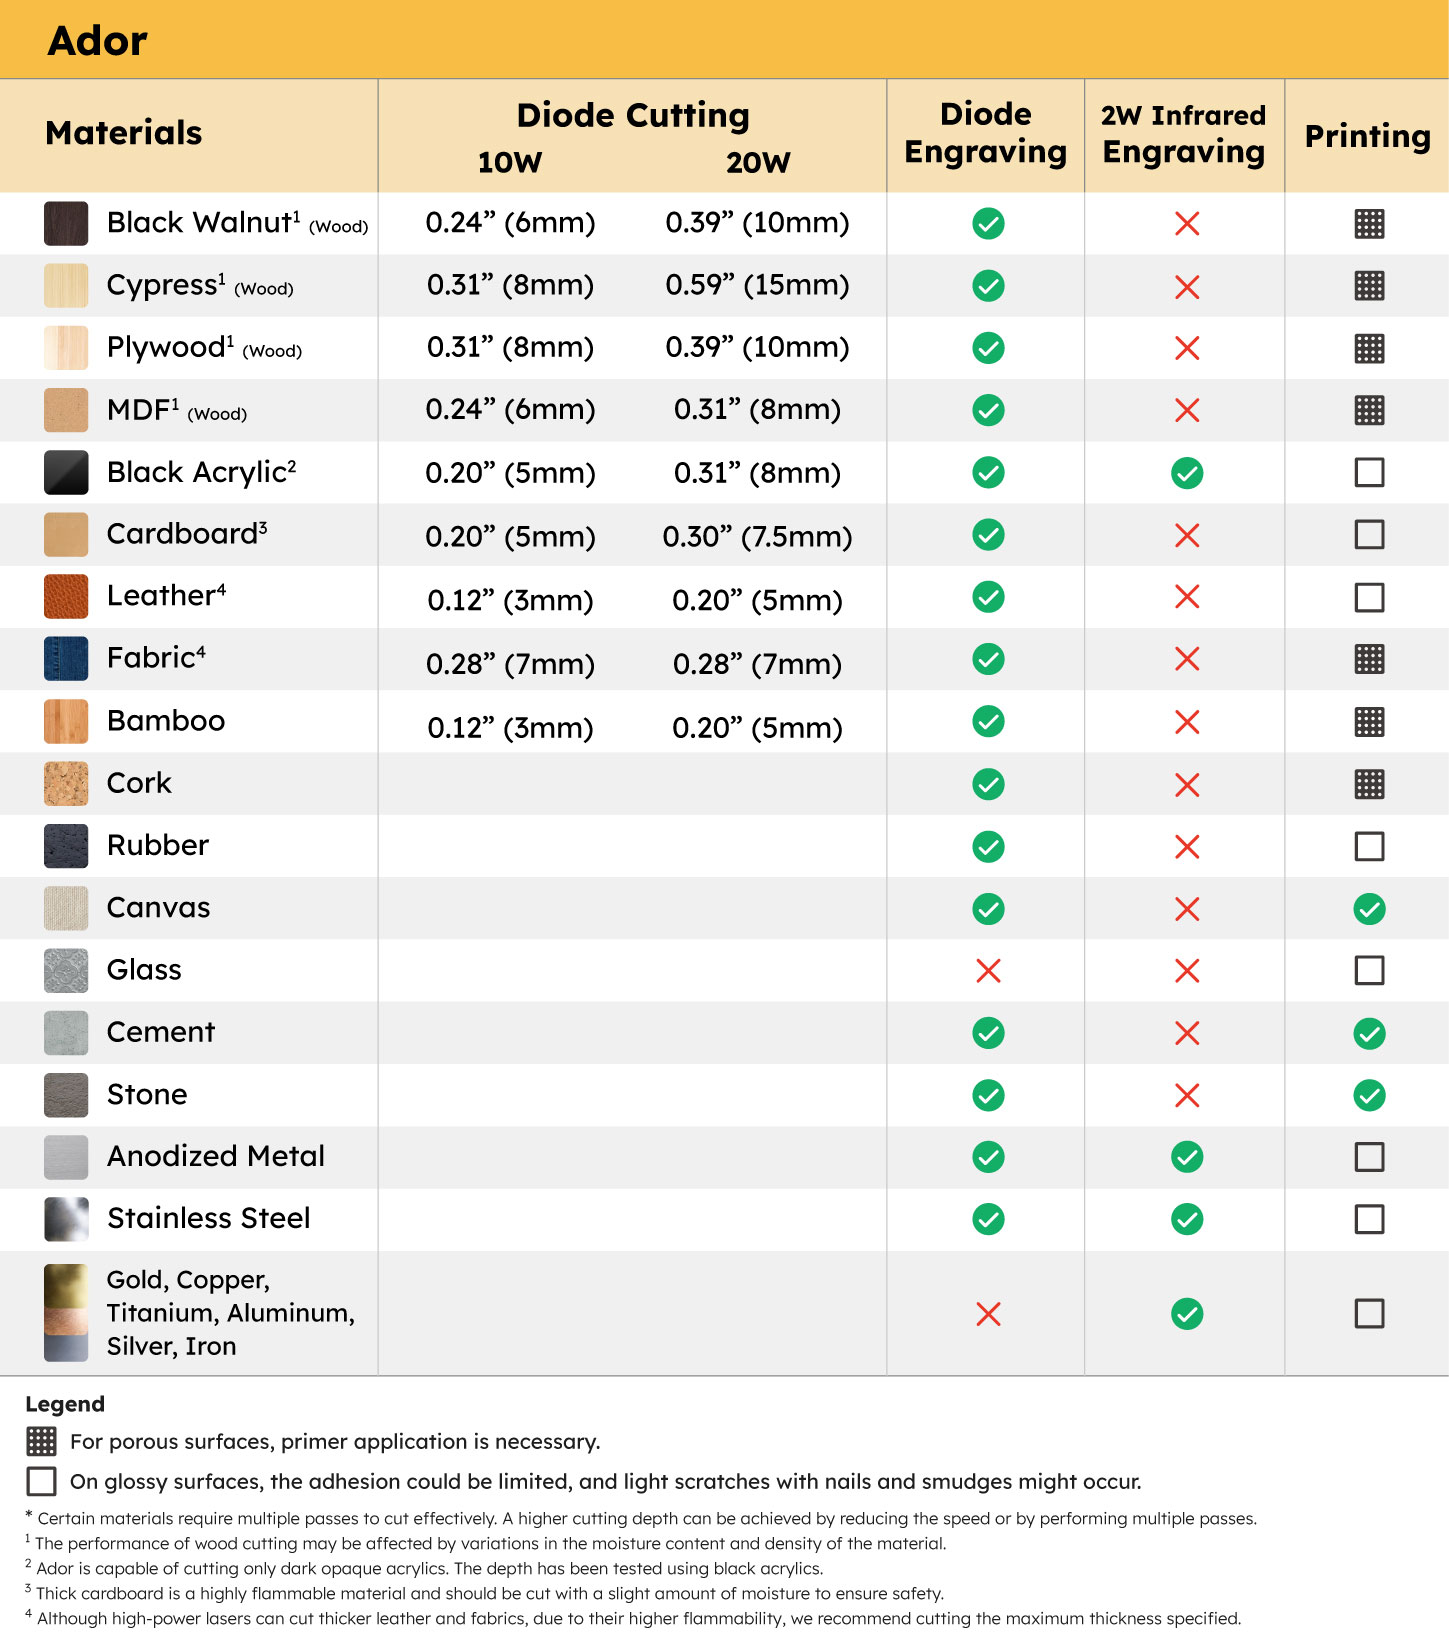
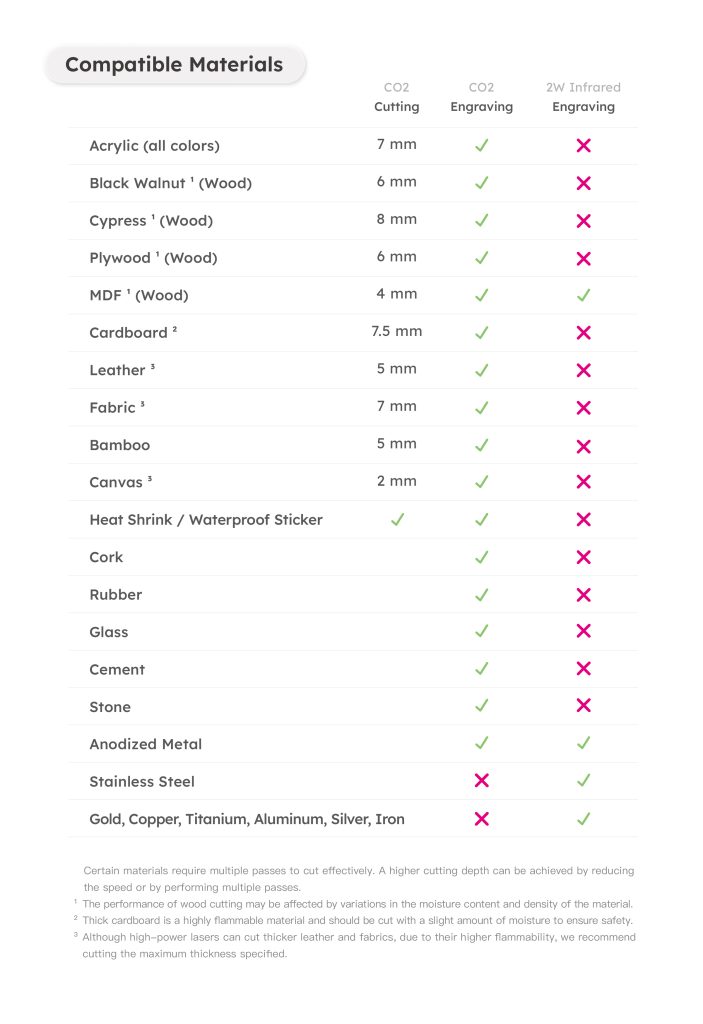
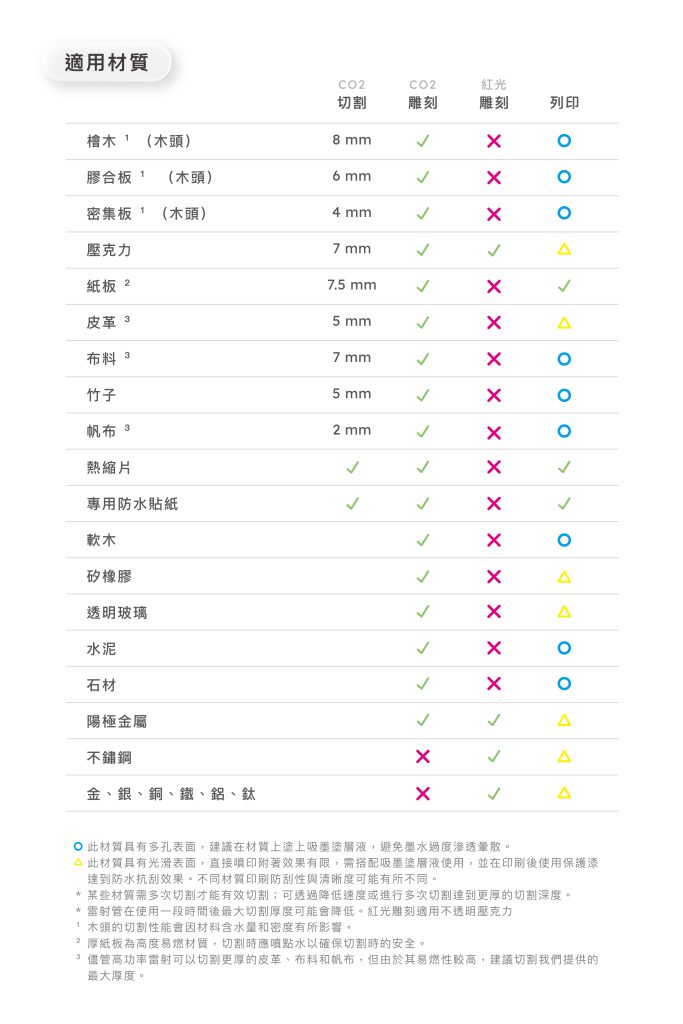
Because specific types of stainless steels have higher absorption rate for blue light with this certain wavelength, so they can be engraved.
3. What safety precautions should I take?
The diode laser module will emit strong blue light, which may damage your eyesight, please make sure to install the orange acrylic door cover before operation.
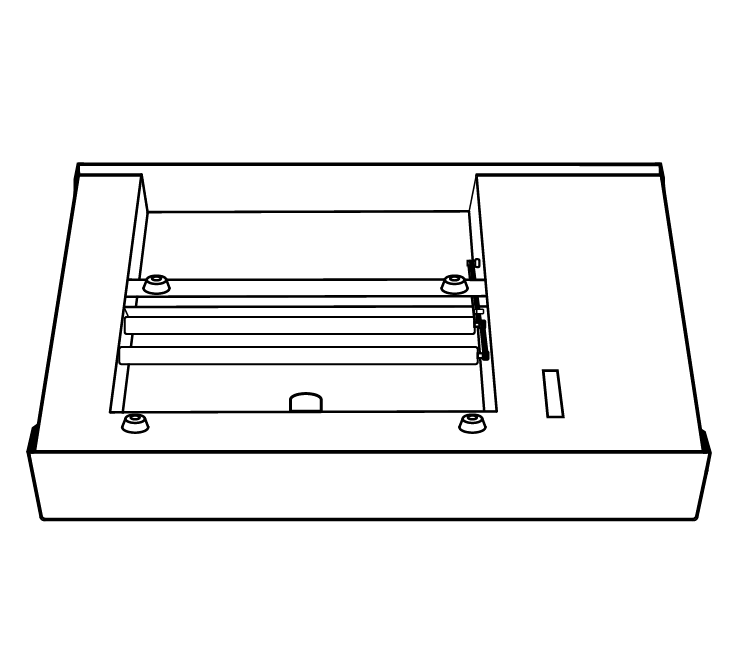
After installation, the working area of the diode laser module is 230mm x 200 mm.The working area of CO2 laser will be reduced to 250mm x 200 mm.
Almost no consumables.
Beam Studio v1.7.1 and later.
1.Go to the top menu => Document Settings, find the Diode Laser Module and enable it, then Save.
2.Calibrate the Diode Laser Module. Go to the top menu => Machine => Your machine name => Calibrate Diode Laser Module. Finish the calibration with the following steps.
3.Select the Layer you would like to use the diode laser, and go to the Add-on section. Enable the Diode Laser.
4.Notice that your objects are in the save area. (Non-gray area)
5.Send your work to the machine after setting the Power and Speed.
Please go to Preferences, find the Add-on section, and change the Diode Laser Default to “On.”