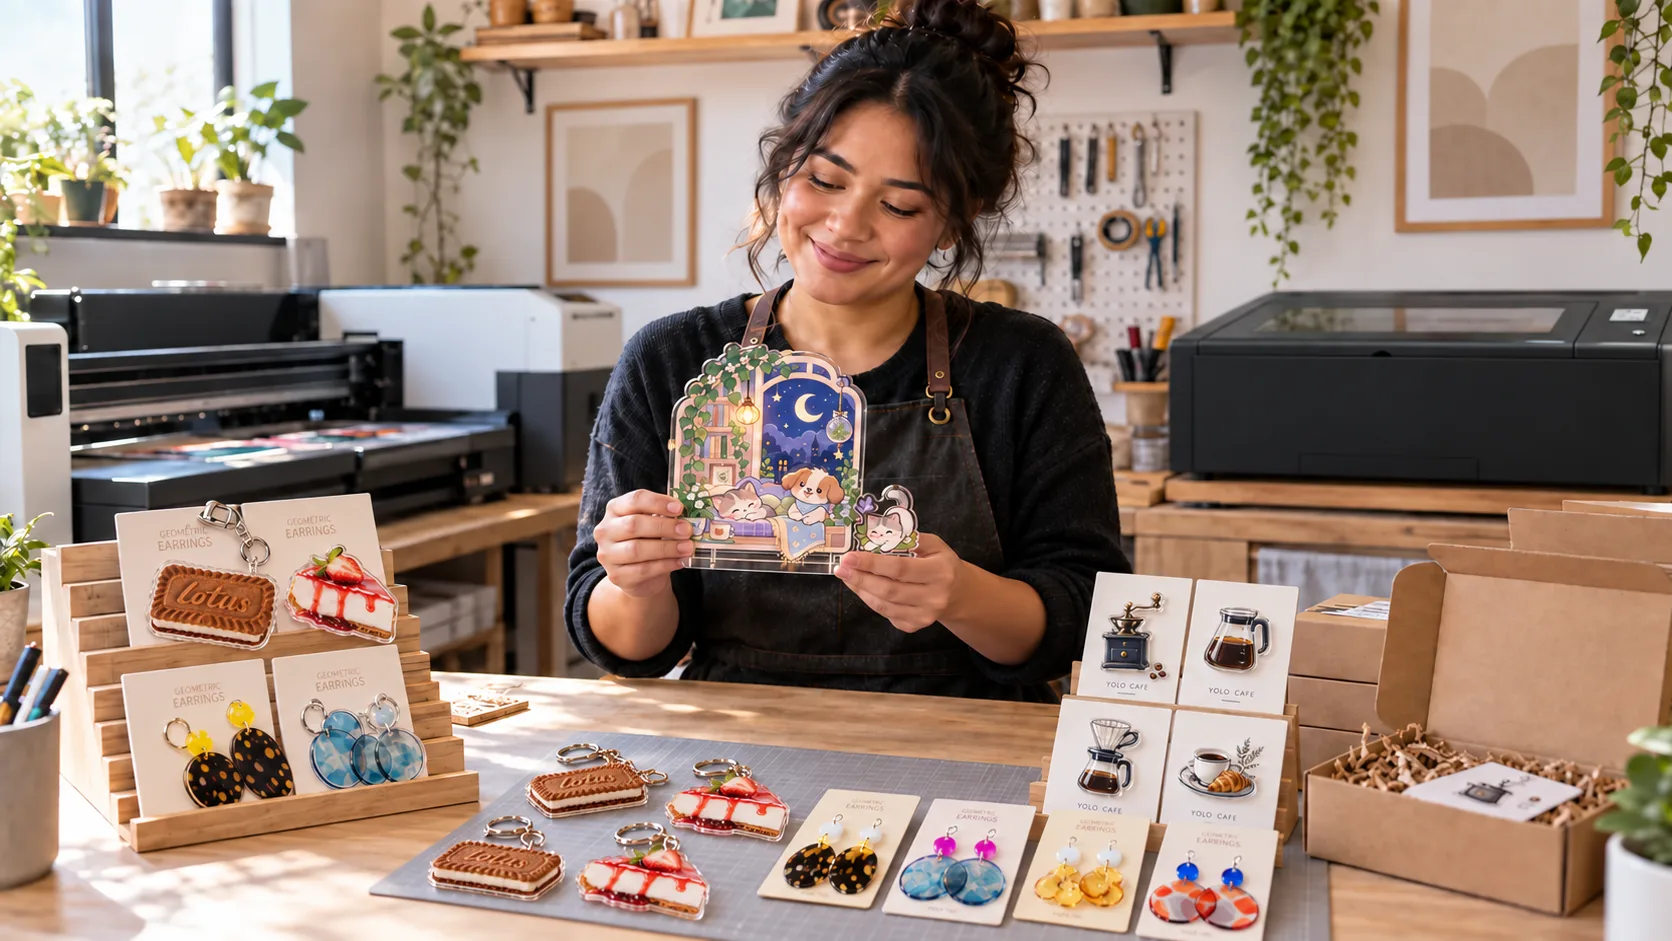
Printing equipment gives a small business control over color, graphics, photographs, patterns, and personalization. But there is a second question that often appears once the first products start selling: who controls the object underneath the print?
A desktop UV printer can apply artwork directly to compatible materials such as acrylic or wood. A heat press can transfer artwork to a compatible blank. In both cases, however, the blank still needs its shape, dimensions, holes, slots, and structural features before it can become a finished product.
If every product begins with a supplier's circle, rectangle, coaster, tag, or keychain, the catalog is still constrained by the blanks that happen to be available. A laser cutter changes that part of the workflow. It lets you start with sheet material and make the blank yourself.
Printing controls the surface; laser cutting controls the shape. Put them together and a small studio can work with color, shape, and structure instead of choosing only one.
What Does a Laser Cutter Add to a UV Printer or Heat Press?
These machines solve different stages of the same production problem. They do not need to compete.
A UV printer can add full-color artwork, photographs, branding, patterns, white ink, and personalized details to a compatible surface. Supported substrates, print area, ink systems, and texture capabilities vary by model, so confirm the printer manufacturer's specifications before designing the workflow.
A CO2 laser cutter works earlier or later in the fabrication sequence. It can cut custom contours, create holes and slots, engrave details, size components, and produce interlocking or layered parts from compatible sheet materials. Instead of treating the printed graphic as the whole product, you can design the physical object around it.
- Color: the printer adds artwork, photography, branding, and personalization.
- Shape: the laser defines the outside contour, cutouts, and exact dimensions.
- Structure: slots, tabs, bases, spacers, and layers turn flat pieces into a product.
That division of labor is what makes a UV printer and laser cutter useful together. Each machine specializes, and the finished item benefits from both.
UV Printer + Laser Cutter: What Can You Make?
A desktop UV printer can bring direct-to-object printing into a compact production workflow. Let the printer handle the surface, then use a laser cutter to create the contour and structure.
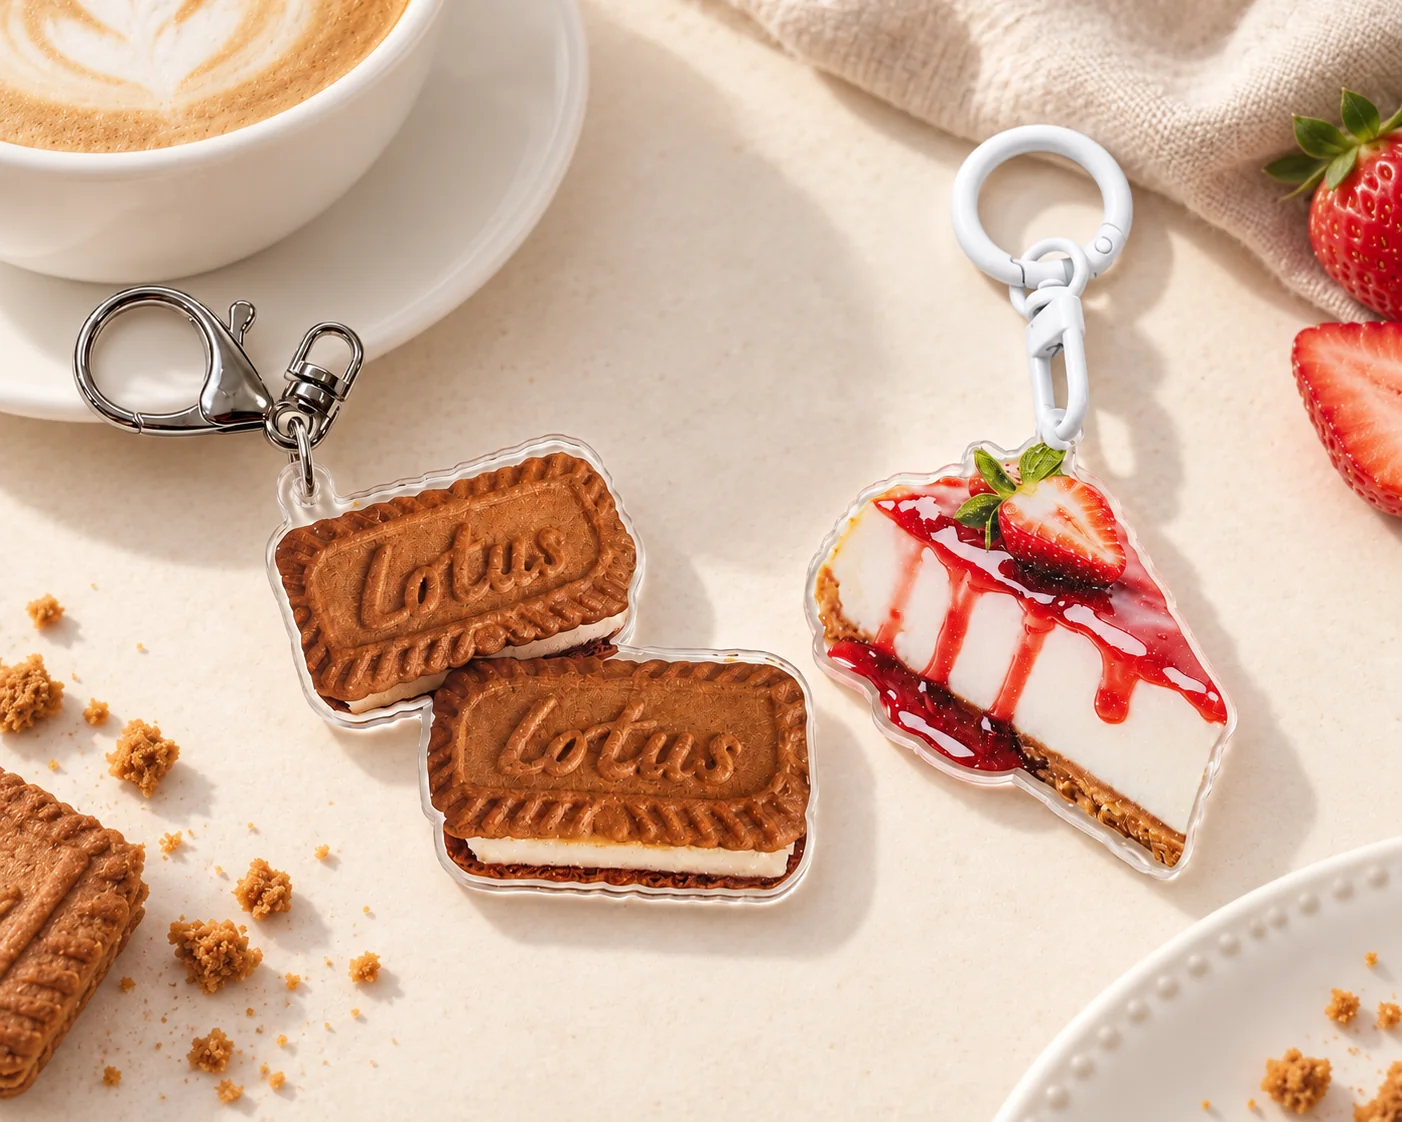
Custom acrylic keychains and charms
Cut acrylic around an illustration rather than forcing the artwork into a stock circle or rectangle. Add a precisely placed hole or slot, then apply full-color graphics. The result can follow the outline of a character, pet, logo, landmark, or seasonal design.
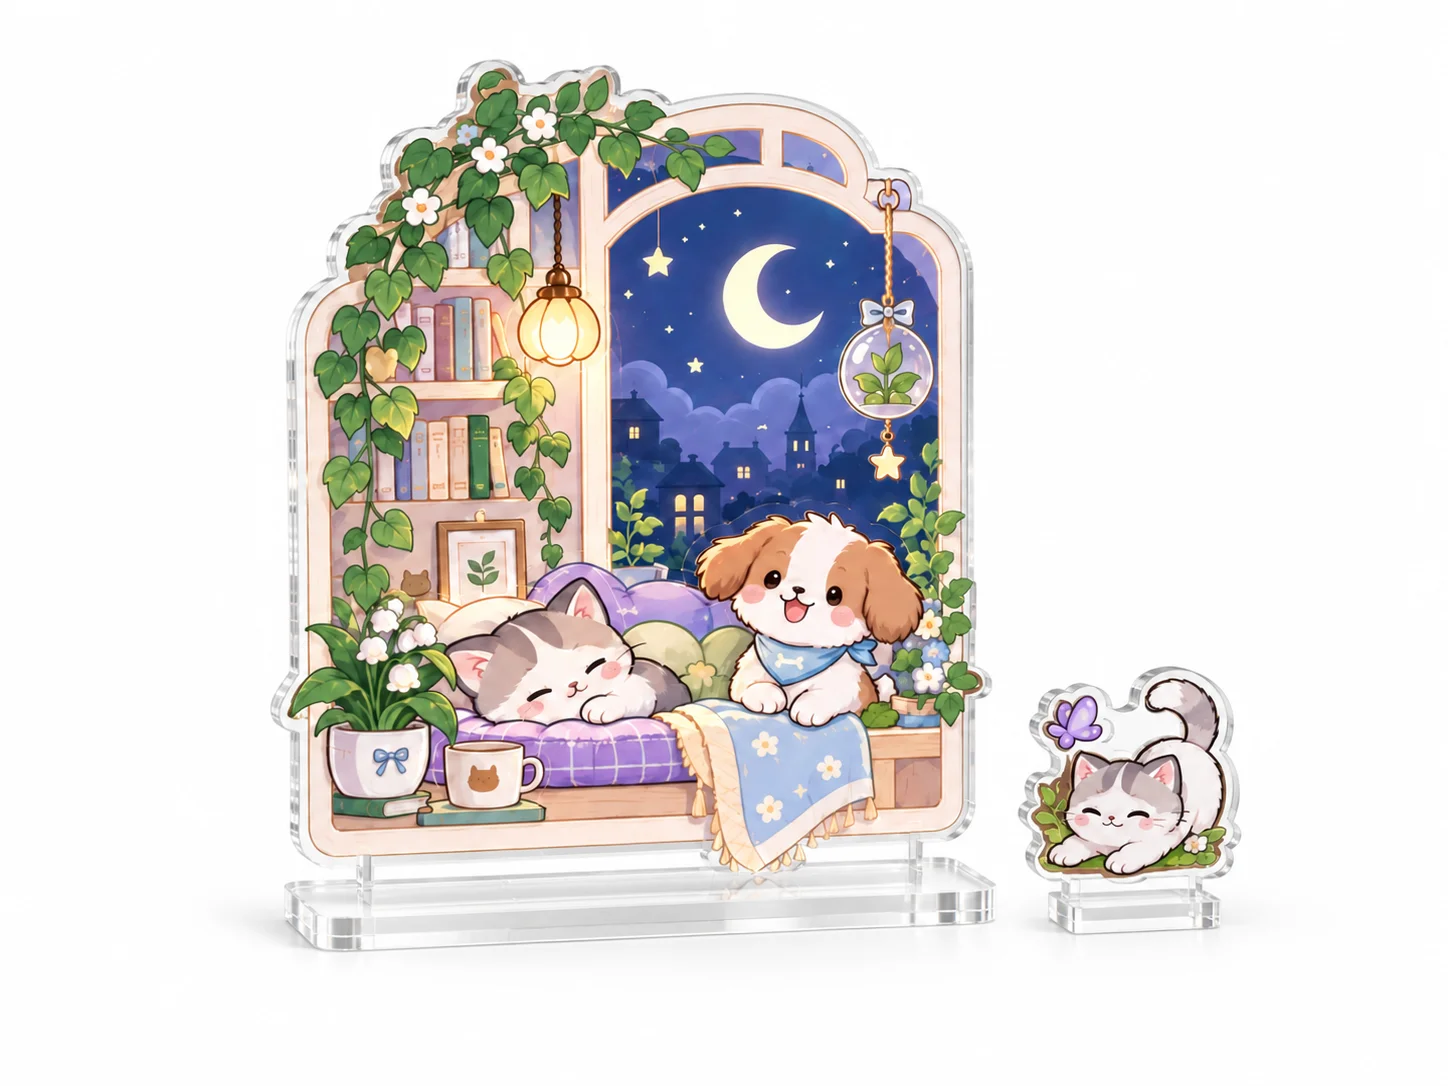
Acrylic standees and displays
A standee is more than a printed panel. It may need a fitted base, one or more slots, interchangeable pieces, and stable proportions. Laser-cut components provide that structure while UV printing provides character art, backgrounds, branding, or instructions.
Business signage
Combine custom-cut acrylic or wood panels with printed logos, brand graphics, QR codes, or directional information. Layering can add depth, while contour cutting allows the sign to follow a wordmark or symbol instead of remaining a standard rectangle.
Personalized nameplates and desk signs
Use cut bases, spacers, slots, engraved names, and printed graphics in a single product. A modular design can also let customers swap printed inserts while keeping the same base.
Magnets, ornaments, and event products
Custom silhouettes help illustrations, mascots, wedding motifs, and seasonal artwork feel intentional. The same approach works for magnets, gift tags, table markers, cake toppers, favors, and commemorative ornaments.
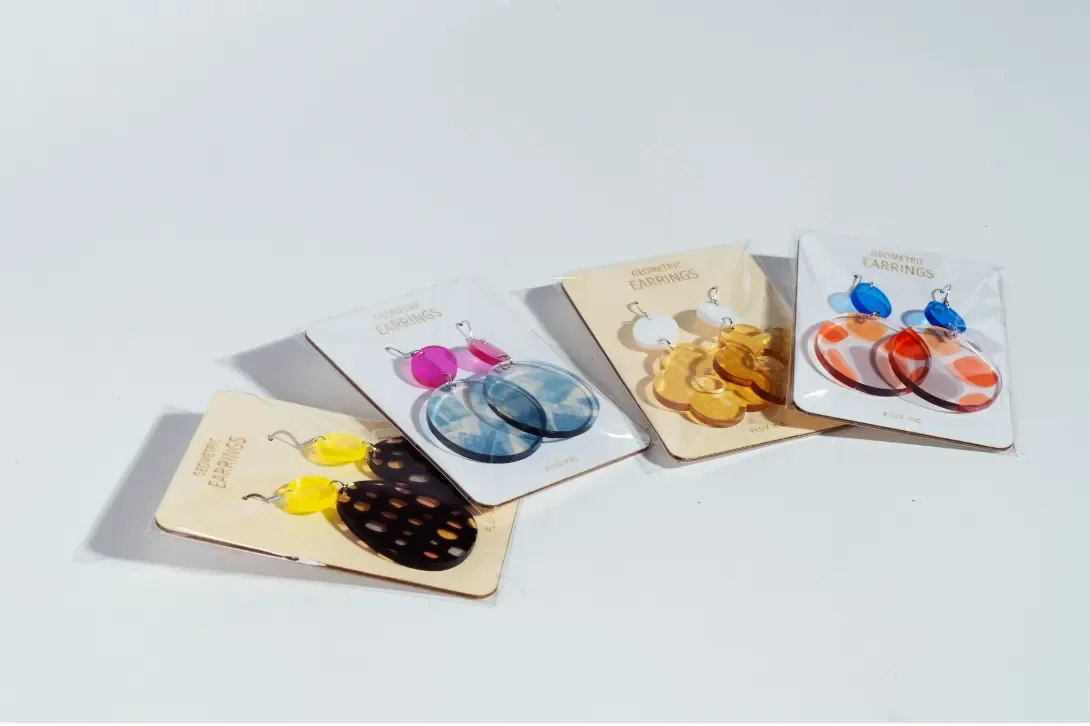
Product displays and packaging accessories
Laser-cut display stands, branded inserts, hang tags, box dividers, and retail presentation pieces can extend the printed identity beyond the product itself. Tabs and slots make it possible to build useful structures from flat stock without adding complex hardware.
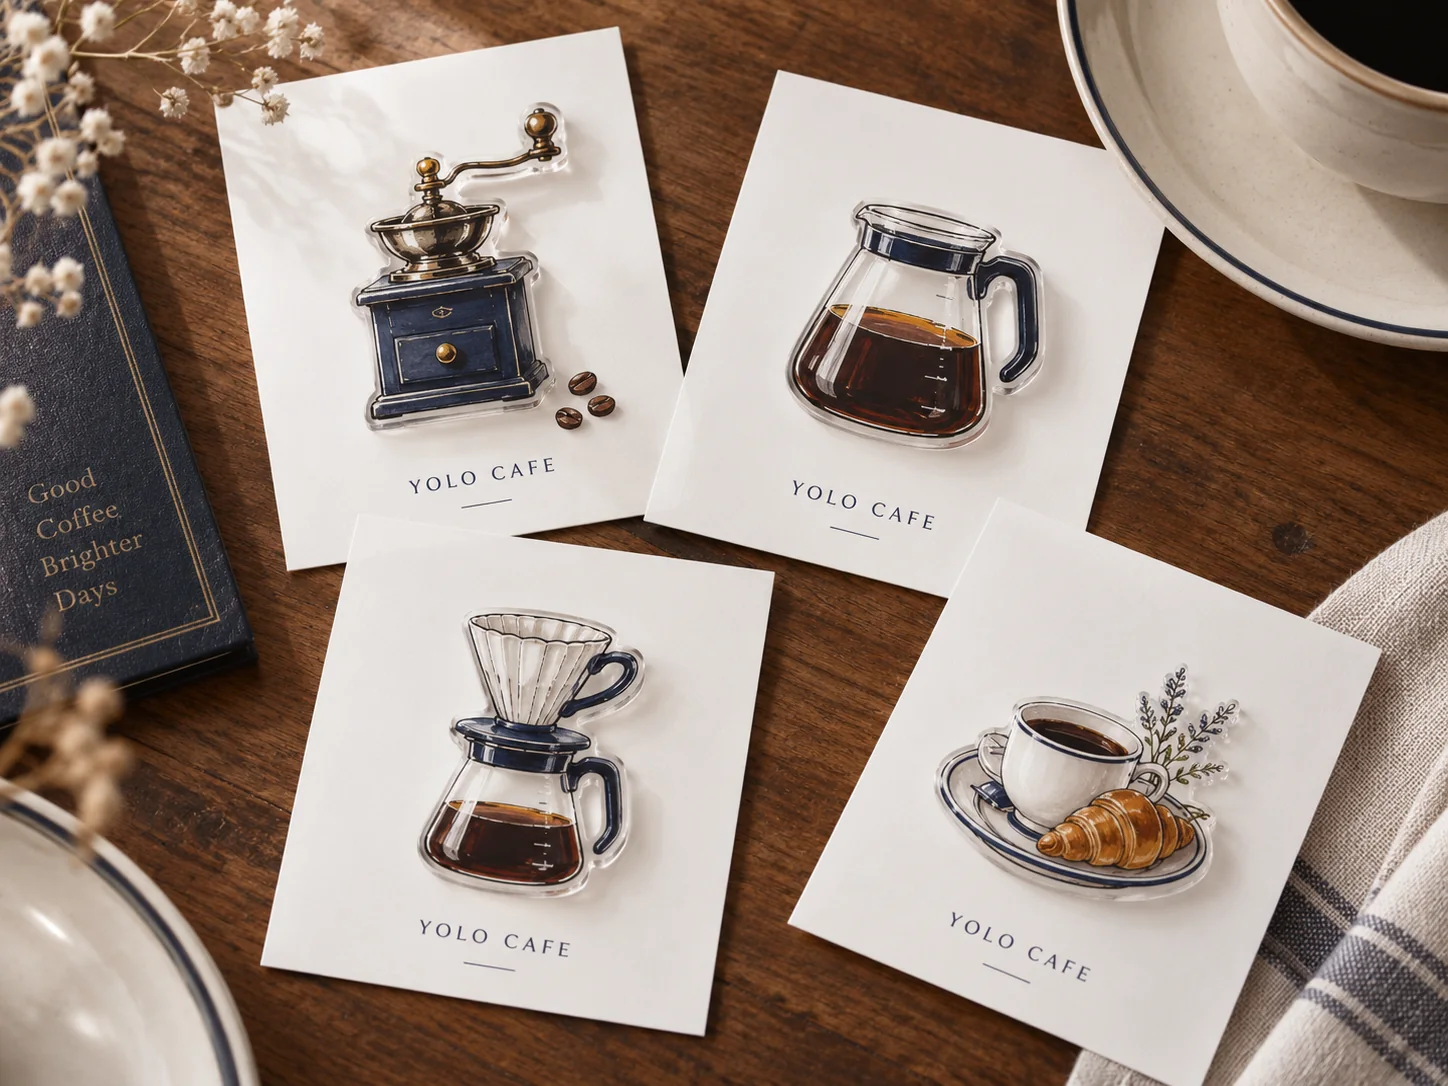
Heat Press + Laser Cutter: The Same Idea, Different Workflow
A heat press transfers the graphic; a laser cutter defines the object. That is the same complementary relationship in a different printing process.
For a sublimation business, laser cutting can support custom-shaped compatible acrylic accessories, ornaments, coasters, signs, decorative panels, product tags, and packaging pieces. The important step is to match the substrate and transfer process to a verified laser-safe material. Our earlier guide to the heat press and laser cutter workflow explores this combination in more detail.
You do not need to replace a heat press that already performs well. The laser simply adds another fabrication stage, allowing the business to create more of the blank instead of buying every physical format ready-made.
Print First or Cut First?
There is no universal sequence. The right order depends on the material, ink or transfer system, registration method, finish, and product geometry.
Cut → print
Cut the final blank first, remove residue, clean the surface as required by the printing process, and position the object in the printer or press. This sequence avoids putting unknown inks, films, adhesives, or coatings into the laser. It also works well when the printer can reliably locate individual objects or when a simple jig holds multiple blanks in place.
For many small shops, cut → print is the clearest starting workflow because each machine processes the material it was originally selected to handle. The tradeoff is registration: the printed artwork must align accurately with the finished contour.
Print → cut
Printing a larger sheet before contour cutting can be efficient when the substrate, ink, coating, adhesive, and protective film have all been confirmed as safe for laser processing. It may also reduce individual loading steps. However, it should never be treated as a blanket approval to laser-cut any printed object.
FLUX's hazardous-material guidance warns that unsuitable materials can release toxic or corrosive gases and specifically says never to cut PVC. Epilog's laser material safety guidance likewise recommends identifying a material's composition and consulting its safety data sheet. Before using a print → cut workflow, verify the substrate and every added layer—including ink, primer, laminate, transfer film, adhesive, and coating—with the relevant manufacturers and the laser supplier.
Why CO2 Lasers Are Especially Useful for Custom Product Businesses
CO2 lasers are widely used with organic materials and acrylic. That overlap matters for printing businesses because acrylic and wood already appear in many signs, displays, accessories, ornaments, nameplates, and branded products.
Transparent acrylic is a particularly important use case. Visible-light diode lasers have optical limitations with clear and some light-colored acrylic, while the 10.6 μm CO2 source in machines such as beamo II can cut transparent and colored acrylic. The official beamo II specifications list support for transparent and any-color acrylic up to 7 mm, along with wood, leather, fabric, paper-based materials, glass engraving, and other compatible applications.
This does not mean every sheet is automatically safe. Acrylic type, additives, surface films, and coatings still need verification. Nor does it mean every product requires thick stock. The advantage is that a CO2 workflow can address clear displays, colorful layered signs, custom keychains, and other acrylic products that are central to many customization businesses.
Choosing a Laser Cutter for Your Existing Production Setup
Start with the products you intend to make, not the longest specification list. Measure your common sheet sizes and finished parts, note the materials and thicknesses, estimate how many pieces you need per job, and confirm ventilation and workspace requirements.
beamo II: compact entry into CO2 production
beamo II is a strong fit for creators, studios, and small businesses that want CO2 cutting without giving up a large amount of floor space. Its built-in 30W CO2 laser uses a 360 × 240 mm working area and is specified to cut transparent and colored acrylic up to 7 mm, with actual results depending on the material and settings. Camera preview and built-in autofocus help with placement and setup.
For a business adding laser fabrication to an existing printer, the compact format is useful: the machine can focus on custom blanks, small signage, components, prototypes, and short production runs rather than trying to replace the printing equipment.
Beambox II: more room and power for growth
Beambox II moves to a 55W CO2 laser and a larger production format. The official Beambox II product guide highlights acrylic key rings, store signs, miniatures, leather goods, and rotary applications among its example uses.
That makes it the more natural direction when larger projects, thicker compatible materials, or producing multiple parts in one job matters more than the smallest footprint. As with any laser purchase, compare the actual product dimensions and batch layout against the usable work area rather than choosing on power alone.
Build a Workflow, Not Just a Collection of Machines
A capable studio does not need every machine to perform every task. It needs each stage to hand off cleanly to the next.
- Laser cutter → shape and structure
- UV printer → color and surface graphics
- Heat press → transferred graphics
Together, these tools can shorten the distance between a digital design and a finished physical product. The printer remains valuable because it handles the visual surface. The laser becomes valuable because it lets you decide what that surface belongs to.
If you already know how to print your designs, the next question is whether you can create the product underneath them. Adding a laser cutter can turn sheet material into custom silhouettes, fitted components, engraved details, layered assemblies, and finished blanks—giving your business more control over what it makes and how quickly it can test the next idea.
FAQ
Is a UV printer a laser cutter?
No. A UV printer adds full-color graphics and, on supported models, textured printing to compatible surfaces. A separate laser cutter adds contour cutting, holes, slots, engraving, and structural fabrication. The two machines can complement each other in one workflow.
Can I laser-cut an object after UV printing it?
Only after confirming that the substrate, ink, primer, coating, laminate, adhesive, and protective film are all safe for laser processing. If any layer is unknown, do not put it in the laser. Cutting the blank first and printing afterward is often the simpler starting sequence.
What laser cutter works with clear acrylic?
A CO2 laser is the typical choice for cutting clear acrylic. Match the working area and power to the product sizes and material thicknesses you actually plan to use, and verify the exact stock with the laser manufacturer before production.
Do I still need premade blanks?
They can remain useful for fast, standardized products. A laser cutter simply gives you another option: make a custom blank when supplier shapes, dimensions, holes, or structures do not fit the design.
Create the Product Underneath the Print
Add custom shapes, fitted parts, slots, engraved details, and layered structures to the color workflow you already know.